![]()
Revised
31/12/2011
.
|
Following the sequence in the build manual, the next panels to be fitted were the fibreglass inner footwell panels. These were then followed by the aluminium passenger footwell end panel. A cardboard template was made as a trial panel, with notches made around the bracing. The aluminium panel was cut from the template, although needed bending and twisting to get it into place. The manual says to fix the footwell top panels next. Whilst I trimmed the panel and marked and drilled the fixing holes, I didn't bother fixing for the time being, considering best to leave until the other footwell panels had been fixed.
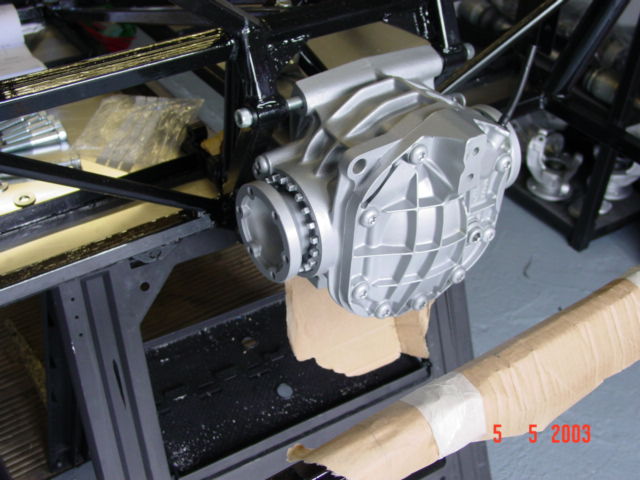
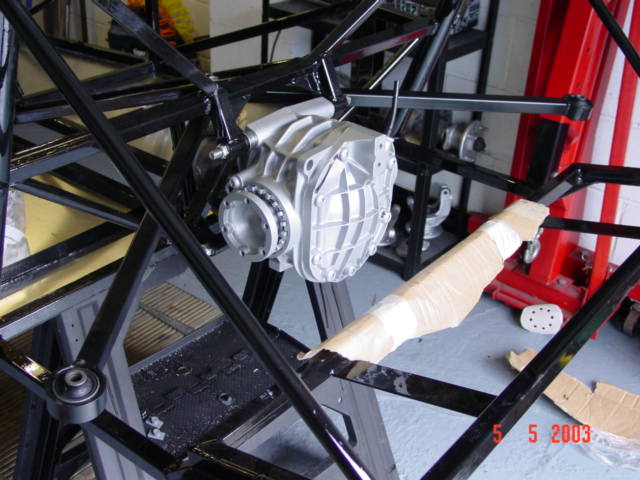
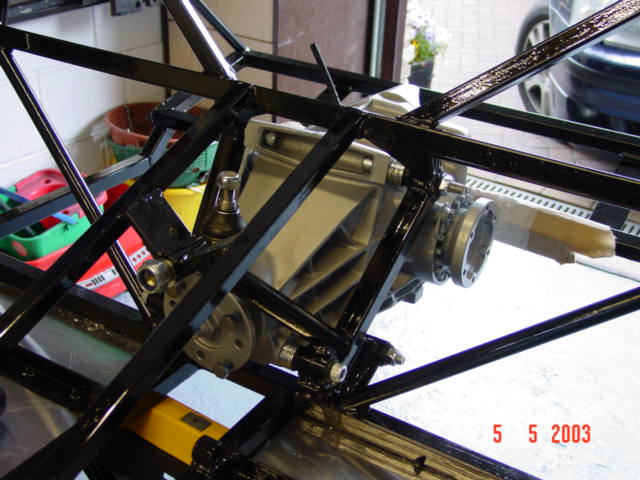
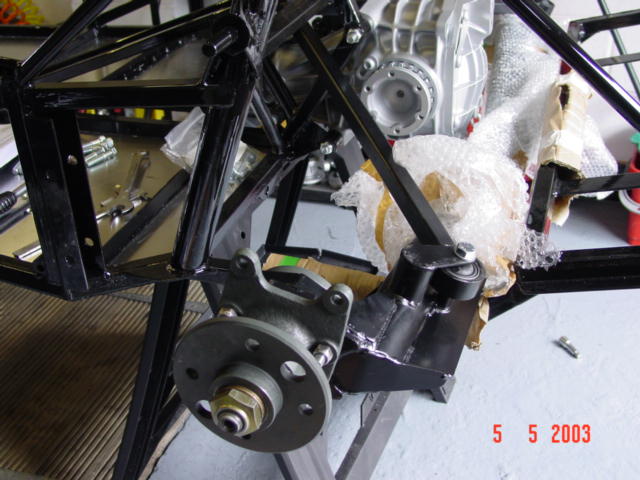
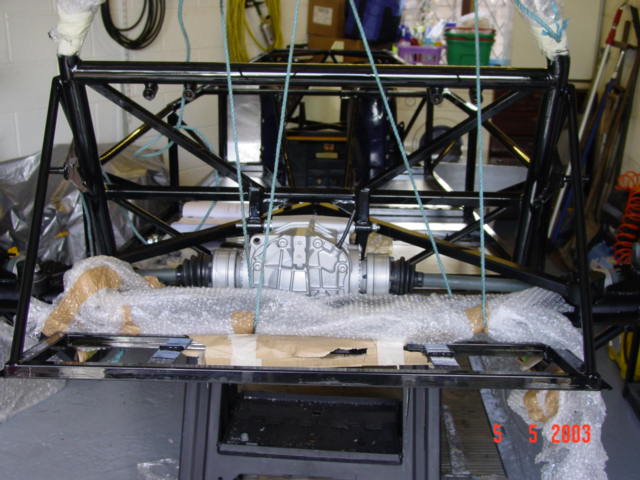
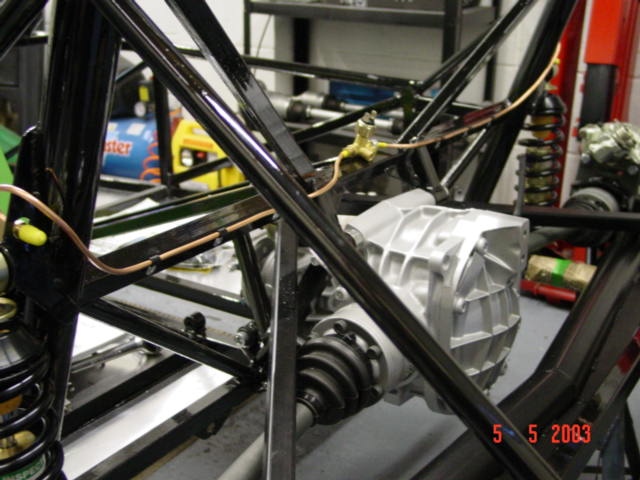
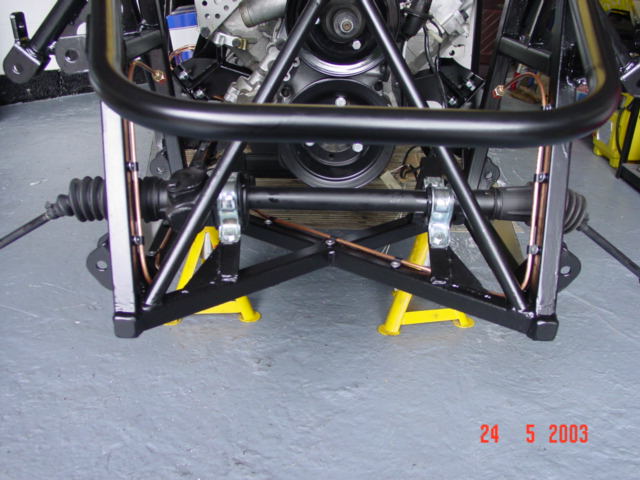
After beginning to get fed up of drilling and pop riveting and fancied a change, I set about fixing the rear differential and drive shafts. All went together as planned, however when putting the springs on the dampers, I spent ages trying to compress the springs enough to slide the top plate onto the damper. I found that the spring compressors I had were too big when fitted for the spring to fit over the damper. After a bit of head scratching realised that I hadn't extended the damper, after which the springs fitted without needing compressing. The build diary didn't state whether the 300 or 375 springs went to the rear. A quick look at David Thompson's build diary confirmed 300 to rear, 375 to front.
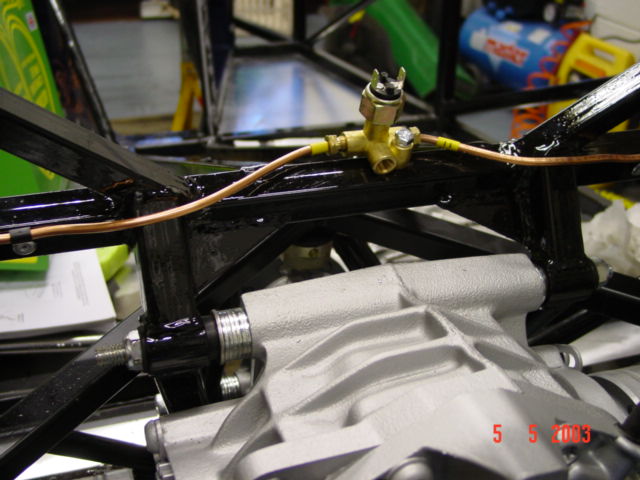
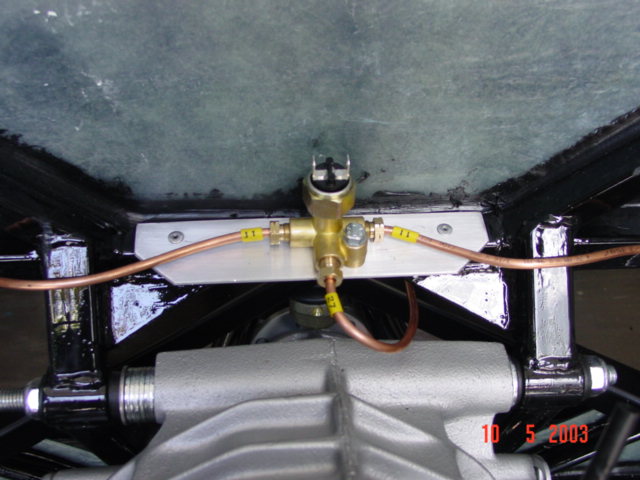
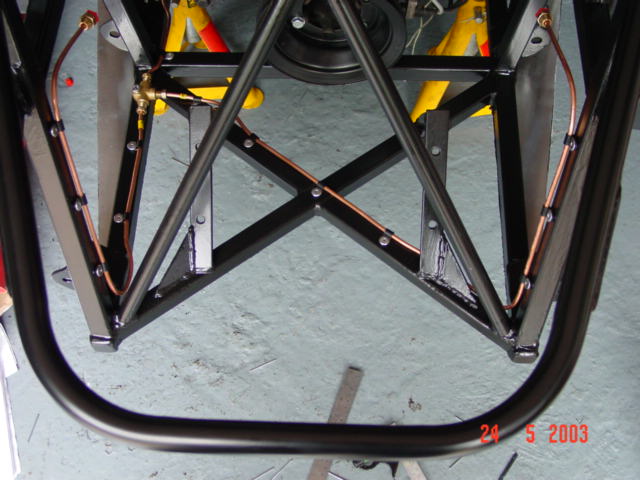
The driveshaft rubbers end up fouling the edge of the springs, however after reading Chris Bell's build diary he had the same concerns, and probably won't be a problem once the weight of the car is on the springs. With all the weight now on the back end the plastic trestle was showing signs of buckling so it was time to put the chassis on axle stands. Brake pipes next and started by fixing the 4 way union to the rear. Rather than using a self tapping screw, I drilled and tapped the box section to take an M6 bolt. Also I had bought a packet of brake pipe clips from Premier Wiring's stand at Stoneleigh over the weekend so used these in preference to the ones in the Dax brake kit. Also as Dax hadn't had the flexible hoses in stock was unable to finish the connection to the callipers.
Rang Dax today to see what had happened to the parts. Darren said they had been posted but must have gone missing and would send them again. After another productive evening, the rear brake pipe was routed through into the engine compartment, hopefully choosing a route that isn't going to foul with the gearbox once installed. Then back to fixing panels, starting with the passenger internal side panel and finishing with the top panels. Having used up most of the 2 tubes of Wurth already (whoever said you only need 2 tubes), I managed to get some tubes of Sikaflex 11FC from work which will hopefully be just as good. My air powered angle drill came in handy for drilling the holes at the lower end of the footwell panels were there wasn't enough space for my battery drill, although there only seemed to be enough air in the compressor to drill one hole, before having to wait for the pressure to build back up.
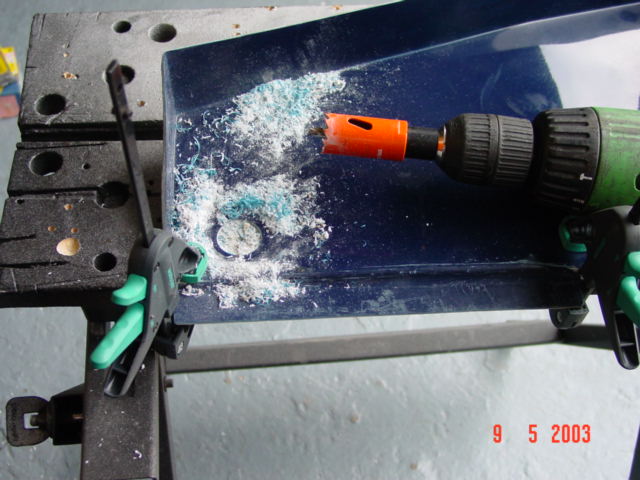
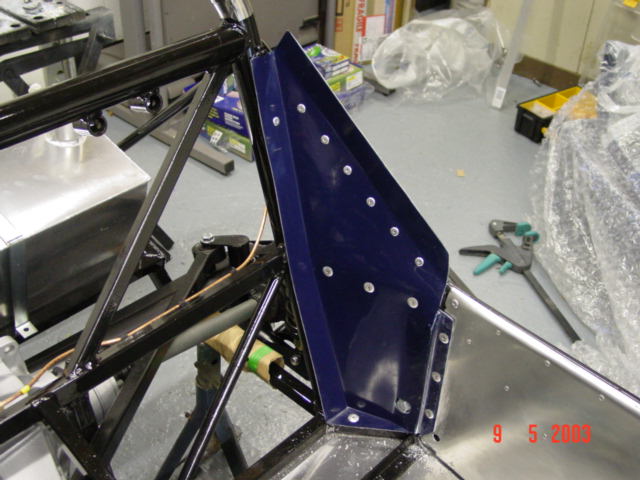
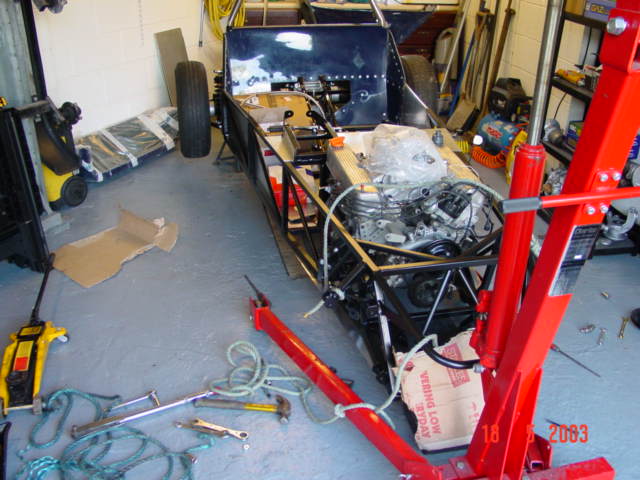
At this rate my wife might win her bet that everything will be done within 6 months although that all depends on when Dax will have the next bits ready ! If you look at the photo's and are wondering how or why the garage appears to be tidy, the house is up for sale at the moment so I keep having to tidy up at the end of each day in case someone rings up and wants to view. Rang Dax again today to see what had happened to the missing parts, being 2 weeks since I had reported them missing. I left a message for Simon to ring back but had no response. Noticed a piece on Trevor Turner's build diary which seemed appropriate : "Seems that they are too busy chasing after new customers to bother with keeping the saps that have already parted with £5K+ happy with an efficient parts operation. Anyone else had this problem??. I wouldn't mind but they never give any indication of delivery and don't seem to advise you if there are likely to be any delays. Trev's Tip:- Go and get any parts you need from the 'factory' yourself...... unless you have had the foresight to order the parts at least two weeks in advance, much valuable build time will be wasted. " I'll try again tomorrow ! (found out later they were awaiting delivery themselves - why not tell me this in the first place ?) Ordered a full set of EBC discs and green stuff pads from Graham Goode Racing. I've decided to stick to the original 240mm front discs at the moment rather than convert to the front Cosworth discs. Next thing to buy is a set of extended wheel studs. I also need to think about oil for the gearbox. There is oil in it but I'd rather change it whilst I have the opportunity. Looking at the Rushowner's archive, the favoured oil for an LT77 seems to be Redline MTL. Just a note about the guy I bought my engine from, Smax, as I've just been checking out his website - he is planning to be the first in Europe to do 310mph (500km/h) over a 1/4 mile drag track ! - who thought 0-60 in 4 seconds was fast ! As the next panels to be fitted were GRP and this was my first experience of cutting and drilling the panels I was unsure if a core drill would cut successfully without ripping or splintering the gel coat. As the first hole to be drilled was for the trailing arm bolt in the corner panels, any damage to the panel would eventually be hidden by carpet. However the core bit cut cleanly through the panel and left a neat edge. This was rounded smooth with fine sandpaper to finish the job. The side panels were drilled and riveted into place followed by the rear bulkhead. One problem with fitting the rear panel was that the brake union stopped the panel sitting tightly against the chassis rails. An aluminium bracket was fixed to overcome the problem.
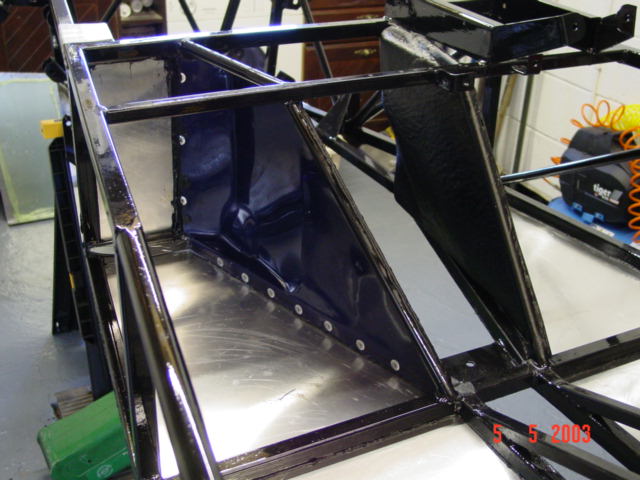
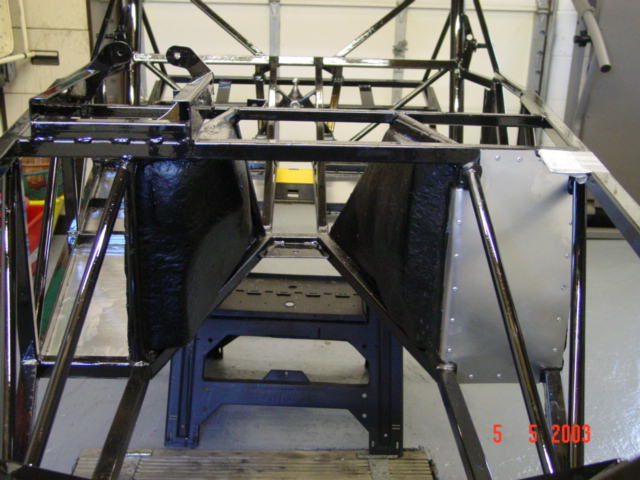
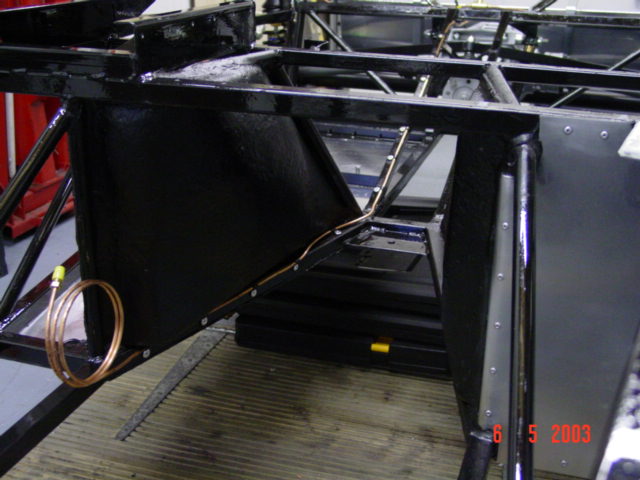
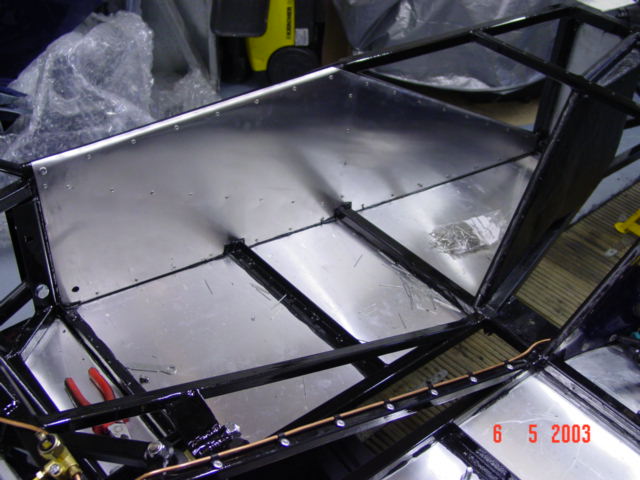
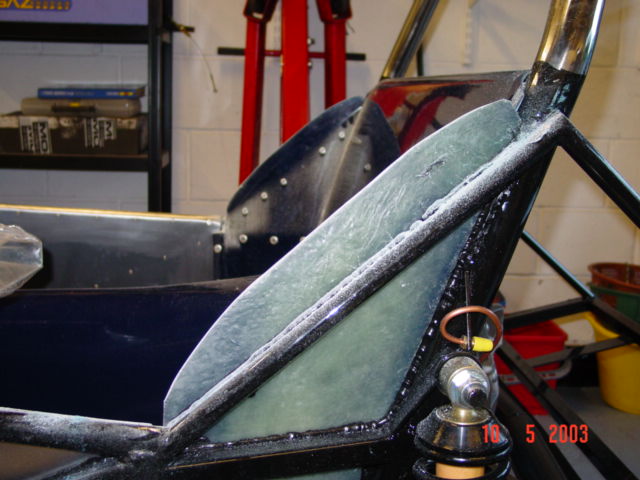
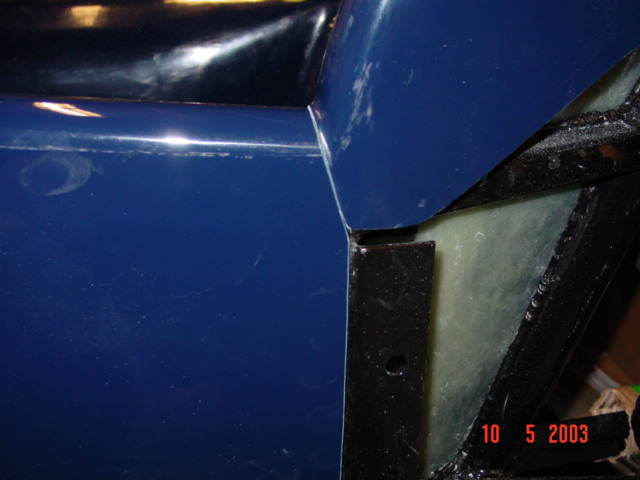
Next the rear tub was trial fitted, although can't be fixed until the missing parts turn up. Notches were cut in the underside of the tub to clear the lower chassis rails and the top of the rear corner panels trimmed as shown in the photograph. Whilst the tub was clamped in position, the side panels were trial fitted. There was quite a bit to trim off the end in order to form the mitre joint with the rear tub.
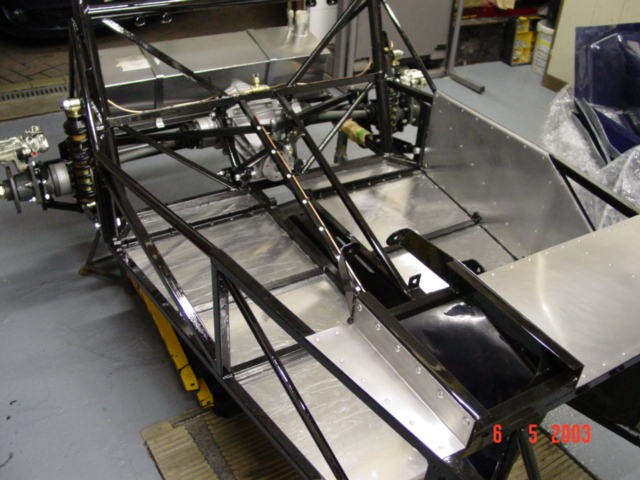
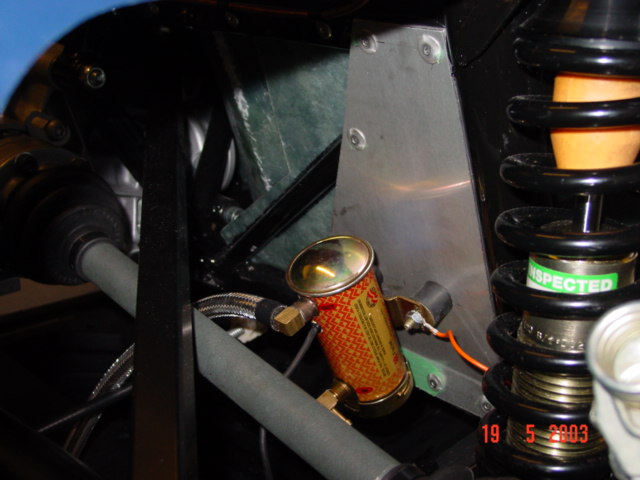
As the ideal place to fit the fuel pump is directly behind the drivers seat on the rear bulkhead rails, an aluminium bracket was cut and fixed into place to attach the Facet Silver Top pump to. As the pump has a self contained pre-pump filter, I am not going to fit a separate filter at this stage. I need to sort out fuel hose and connectors from tank to pump and the best route along the transmission tunnel for the fuel hose but will leave this until the engine and gearbox are in.
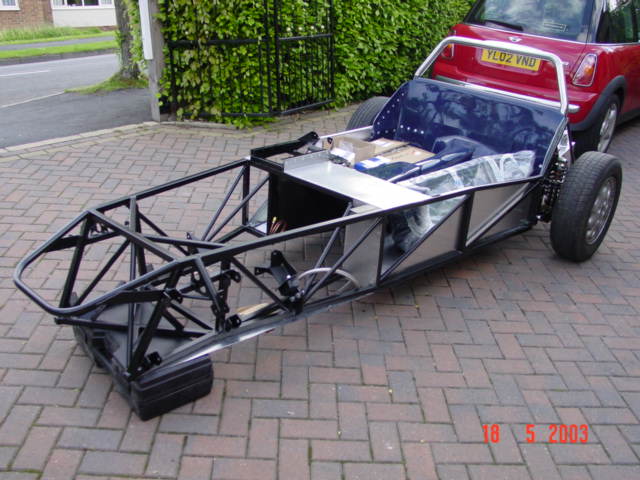
Having thought about installing the engine next, I needed to rearrange things in the garage. There was not enough space to fit the engine hoist past the chassis to pick up the engine, without risk of damaging anything. The chassis ideally needed to be facing the other way round anyway so the easiest way to move everything was to put the rear wheels on, pick up the front and manoeuvre it like a wheelbarrow. As the Image wheels had not arrived yet, I had to use the old Sierra wheels - good job I'd kept them. This threw up the problem that the 14" alloys wouldn't fit over the brake callipers and the studs weren't long enough to just turn the wheels round. Once the brake callipers were removed and wheels fitted it was easy to move the chassis outside.
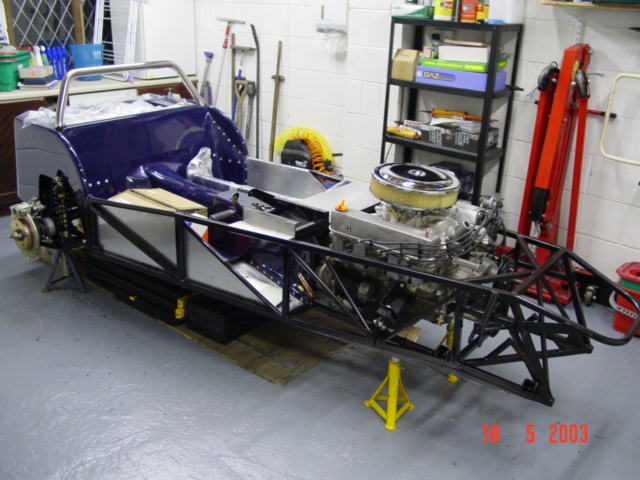
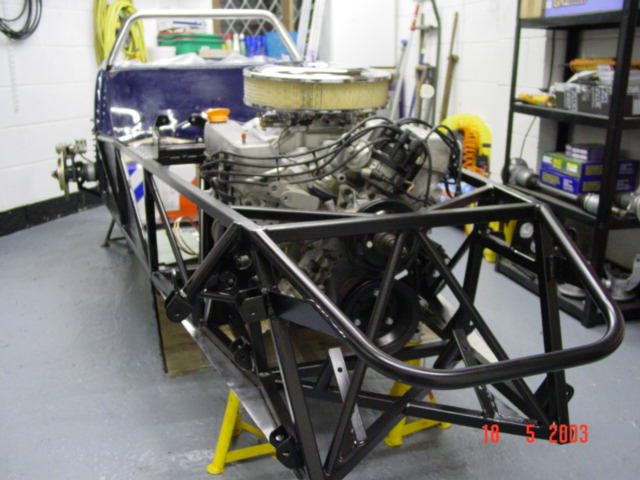
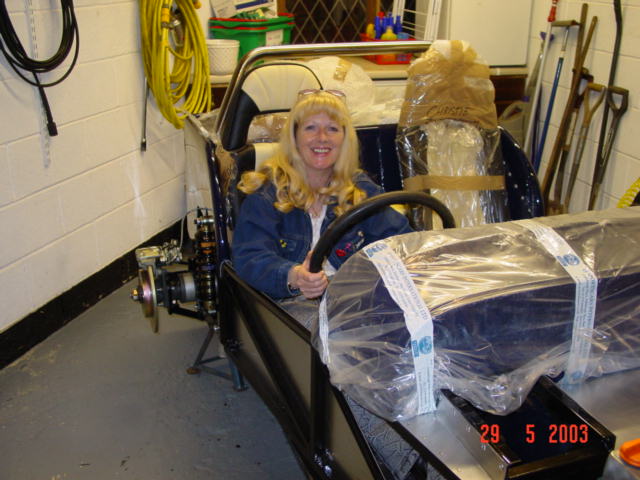
Before installing the engine, the gearbox oil was drained and gearbox filled with 1.5 litres of Redline MTL oil. Surprisingly Laurraine took an interest at this point and decided to help, unless she thought I might struggle by myself. The engine mounts were removed from the engine and fixed in place on the chassis - these had to be removed again as they fouled with the bellhousing when installing the engine. I tried to install the gearbox with the remote housing (minus the gearstick) installed but this also had to be removed whilst everything was hanging precariously in mid air. Although I had thought about it beforehand, in all the excitement of finally getting round to installing the engine, I forgot about removing the rear lug from the gearbox. It was possible to remove it from underneath with an angle grinder but needed the gearbox jacking up to allow clearance from the chassis rail. As I don't have the gearbox mount yet, I just hope that this can be fitted (or adapted to fit) after
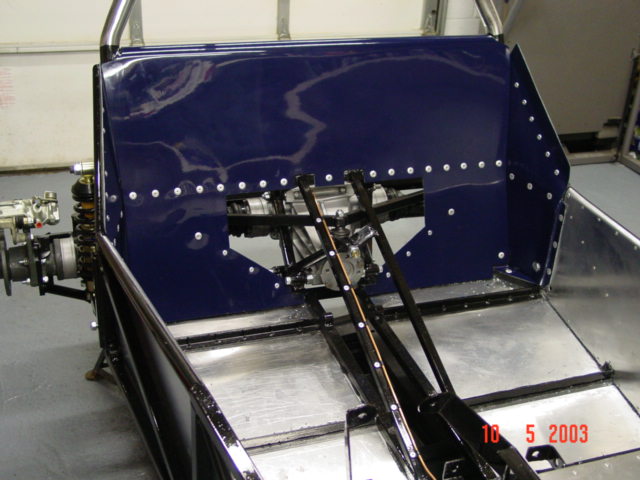
After prompting Simon at Dax, a parcel arrived today with all the missing bits, plus everything else is in stock and ready for collection (except for wheels and exhaust). The arrival of the foam meant that the fuel tank could be fixed in place. At first I used M8 rivnuts but no matter how tight I tried to fix the rivnuts there was always one out of the four which kept turning when the bolts were tightened, so resorted to fixing the tank with the self-tapping screws. The front brake lines were installed and the steering rack fixed in place. I will have to make sure that when I go to Dax to collect the parts I take the Sierra steering column to be extended.
Thursday 29th saw another drive down to Harlow to collect what I though was the remainder of the parts. I was disappointed to find that despite being told that everything was in stock except for the wheels and exhaust, the heater, seatbelts, expansion tank, wiring, headlights and SVA bars were also out of stock. The seats and other trim were there though and the car still seemed to be full with the windscreen and bags and bags of other parts. We couldn't resist trying out the seats when we got back home which were unbelievably comfy, particularly after driving for 400 miles, and appeared to be of a high quality.
Having laid everything out to see what had been collected, there seemed to be a few parts missing, including that the pockets had been missed off when manufacturing the carpet set and the carpets for the rear tub were completely missing. In fairness to Simon at Dax, after listing out what I believed to be the missing parts, they were posted out with the minimum of fuss. I have however sent back the side carpet panels and await there return.
|


![]()
|
Registration speedo sensor, bonnet catches, final trim, MOT & SVA Nosecone, Rear tub, front mudguards, alarm Finishing fitting the dashboard Carpets, seats and Dashboard Making a start on the interior Lights working Bonnet, Nosecone, Headlights 1st drive Rear mudguards and lights Engine loom wiring, Alternator bracket, Distributor, Engine Started, Speedo sensor, Transmission tunnel fitting, Exhausts, Side panels Steering column, Front axle, Pedal box, Wheel studs, Fuel tank, Wiring loom, Rear tub, Remote oil filter, Front bulkhead / battery shelf, Column switches Footwell panels, Rear axle, Brake pipes, Rear bulkhead, Fuel pump, Engine installed Collect kit from Dax, Painting chassis, Remote oil filter takeoff plate, Floor panels, A frame bushes Gearstick remote, Baffled sump Preparing LT77 gearbox, exhaust options, Costs for kit 3.62:1 LSD Front hub bearings, Engine age Preparing donor differential, drive shafts, hubs |
|
|