![]()
Revised
31/12/2011
.
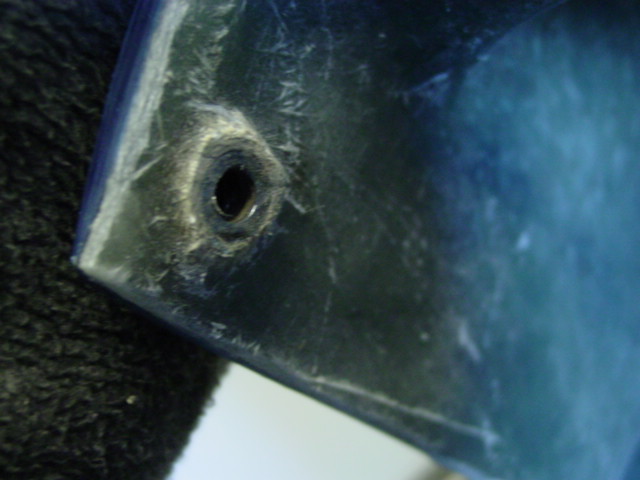
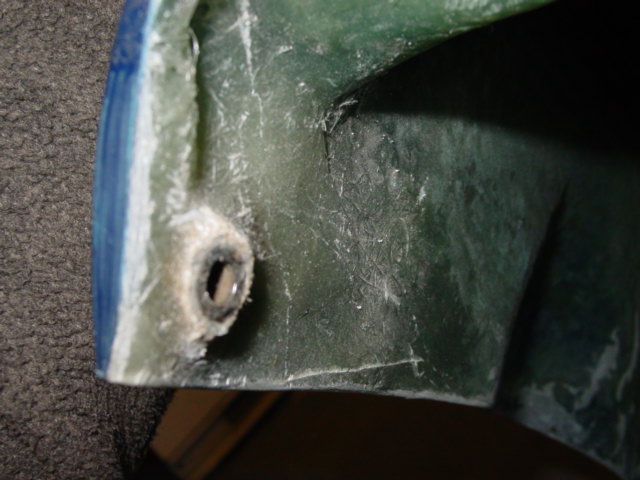
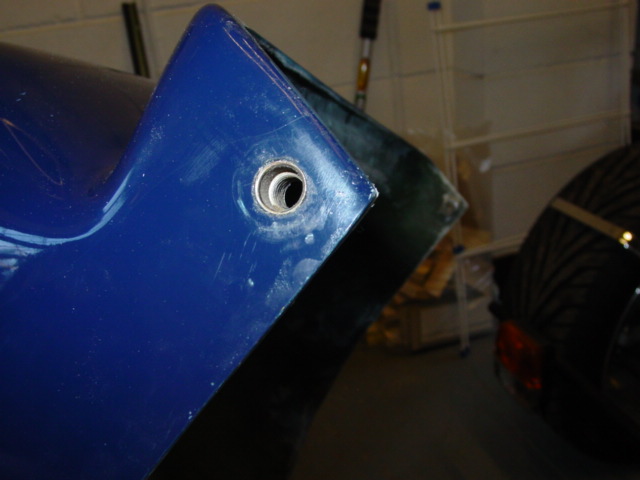
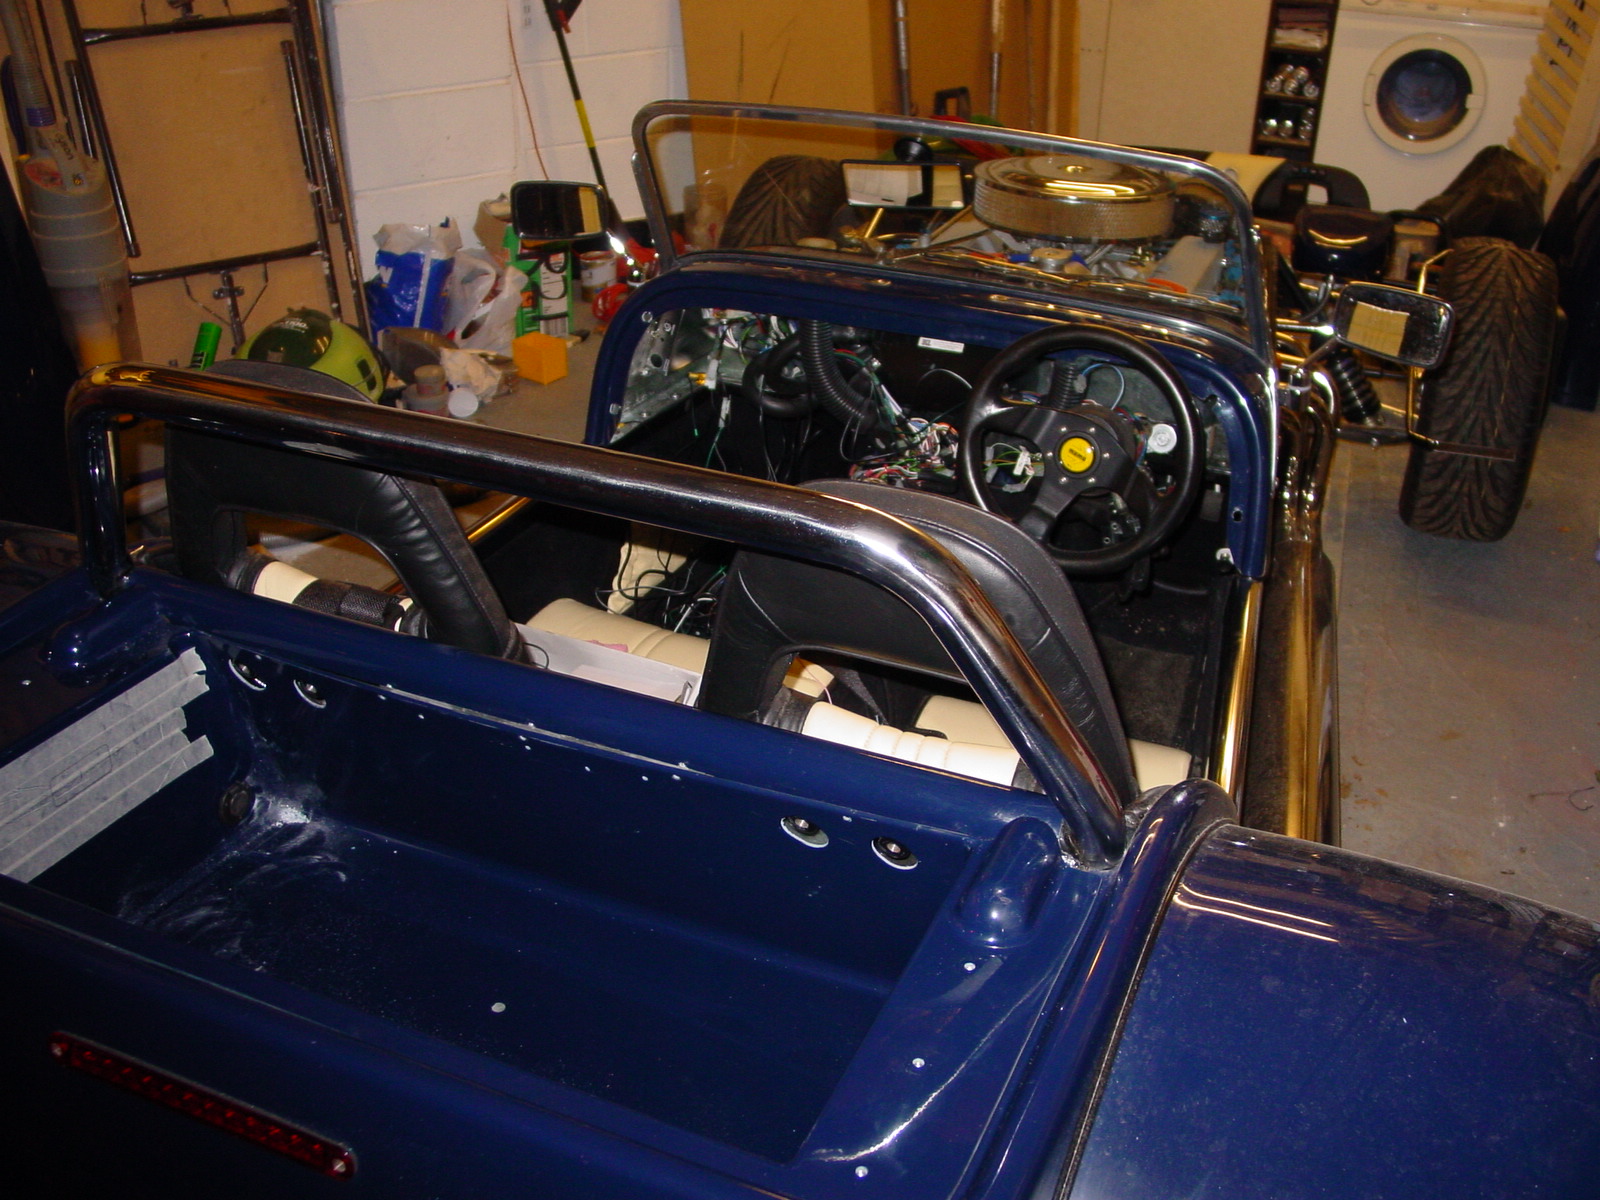
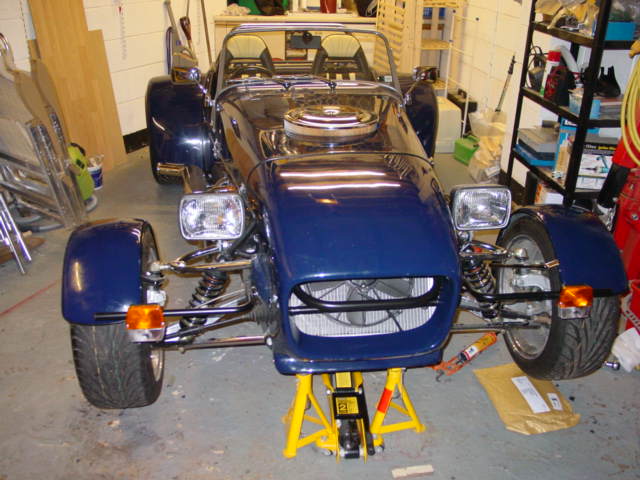
Having not done anything for a while, mainly because I had spent most of the year converting my loft, I set a deadline of getting the Rush tested and on the road for Christmas. (If anyone is interested in converting trussed rafters to open plan, I can confirm it can be done, despite being told on several occasions it wasn't possible !!!). Maybe not the best of times of the year to have the car on the road but at least it did seem a realist deadline with the reassurance that there shouldn't be a long wait for SVA and that I would definitely have the car on the road for spring the following year. Also my enthusiasm increased as I went to the Yorkshire Rushowners club meet for the first time and picked up some valuable tips. Fixing the front nose cone, whilst still allowing it to tilt forward to gain access was possible by forming a hinge arrangement on the bottom corner of the cone. My first attempt a while back had involved drilling a hole through the GRP and fixing a rivnut in the chassis to allow a bolt to form the hinge pin. With just a hole in the GRP so close to the edge, bits started breaking off so the hole was strengthened by inserting a larger rivnut to act a sleeve and reinforcing and building up the thickness of the GRP. The top of the nosecone is fixed in place with a purpose made angle-bracket using M6 buttonhead screws / rivnuts fixed into the top chassis and the rear edge of the nosecone.
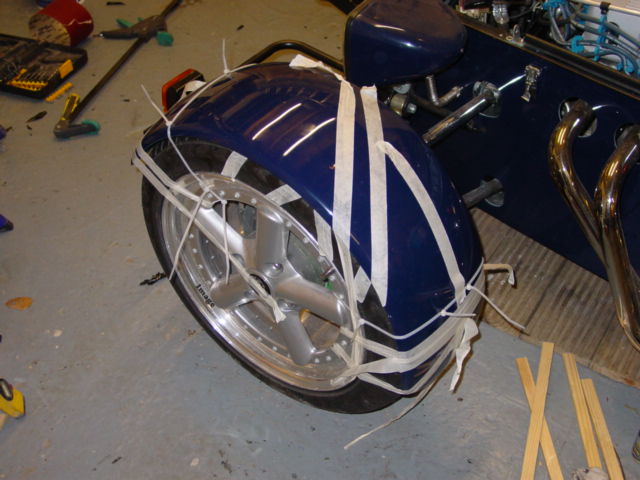
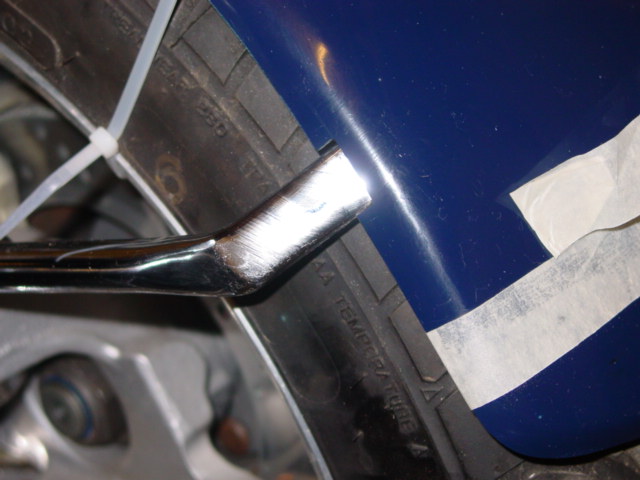
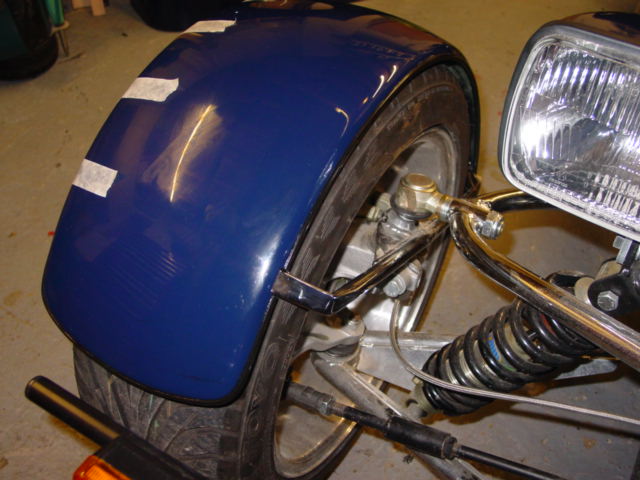
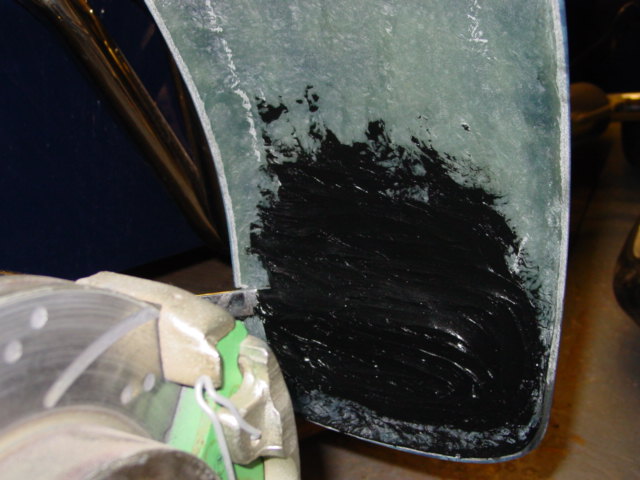
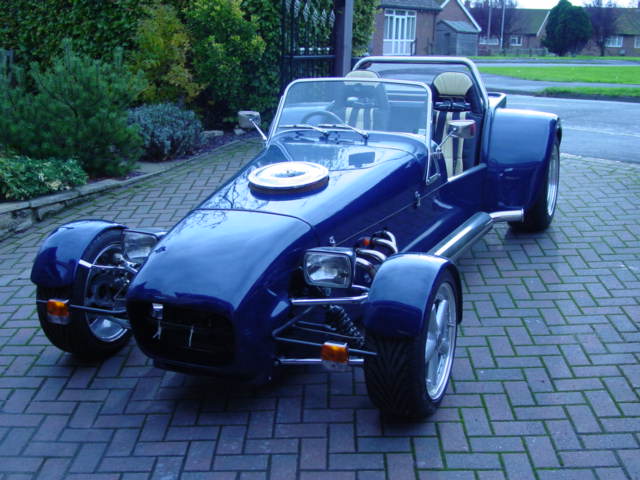
After looking on several other build sites I plucked up the courage to fix the front mudguards. These did take a bit of adjusting to eventually get them in the correct position and did require forming a notch in the inside edge to position them far enough over the wheel rim. I had been warned that a check is made during the SVA to ensure that the edge of the mudguard covers the wheel rim (remembering that because of the camber the rim at the bottom of the wheel is further out than at the top). Small pieces of timber were placed between tyre and mudguard as packers and everything strapped in place with plenty of masking tape and cable ties until the sealant had cured. After 24 hours more sealant was placed over the under the mudguards to give additional strength to the joint, remembering to roughen up the surface of the chrome to provide a key.
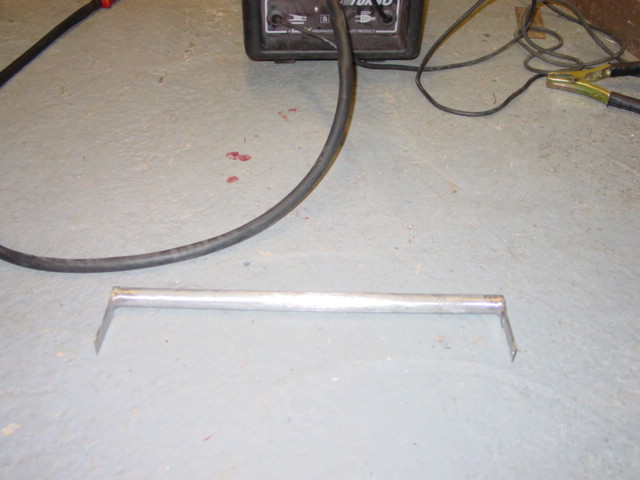
A makeshift SVA bar was made for the nosecone with an off-cut of galvanised conduit I found at work with a couple of pieces of flat bar welded in place. Once painted black it looked like the one Dax supply !
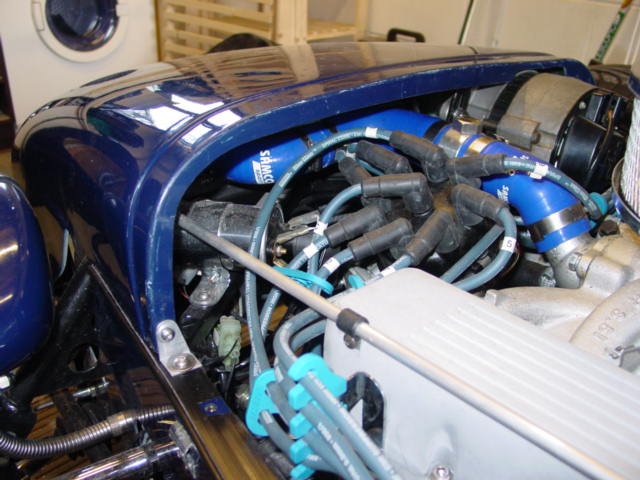
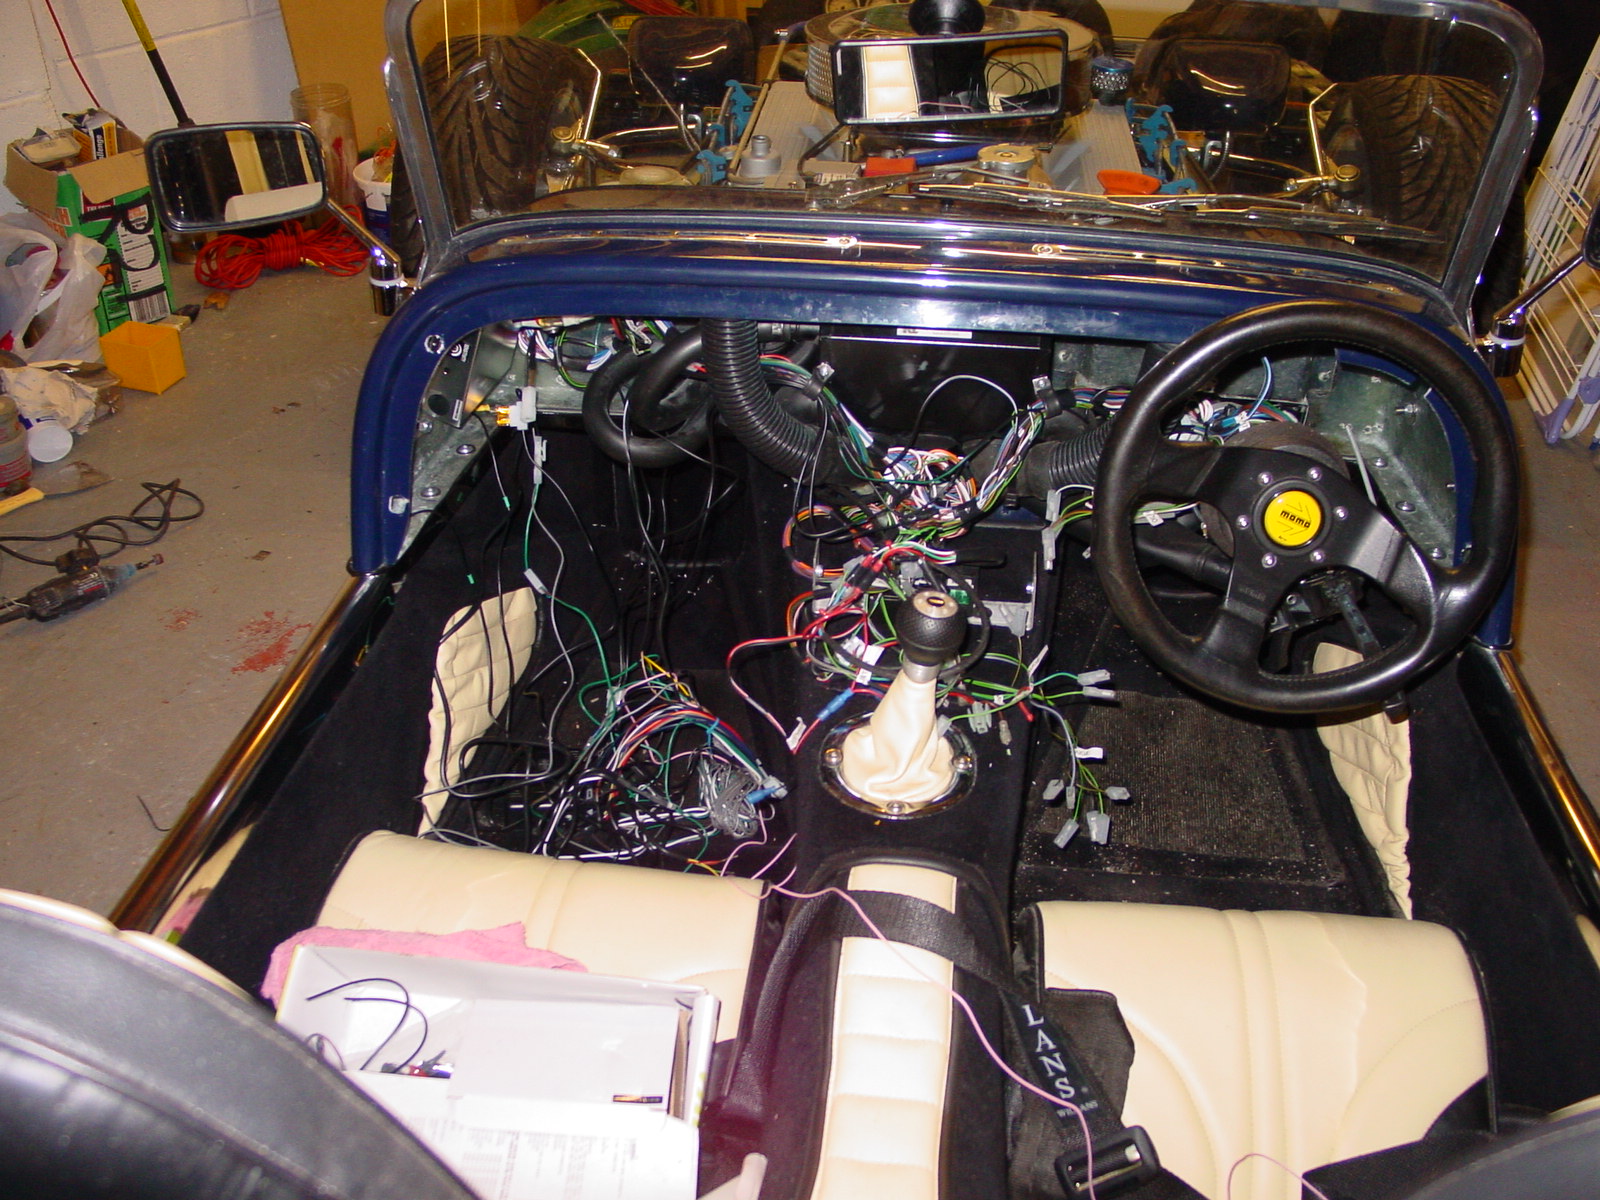
Before the dashboard was fitted for what I thought would be the final time, a Thatcham alarm was installed. After ringing up several insurance companies, planning for having insurance soon, most insisted that an approved alarm was fitted. Luckily my friend Richard is an auto electrician so wiring up the alarm wasn't too much of a problem. The major problem though was finding space for the alarm itself to be fitted.
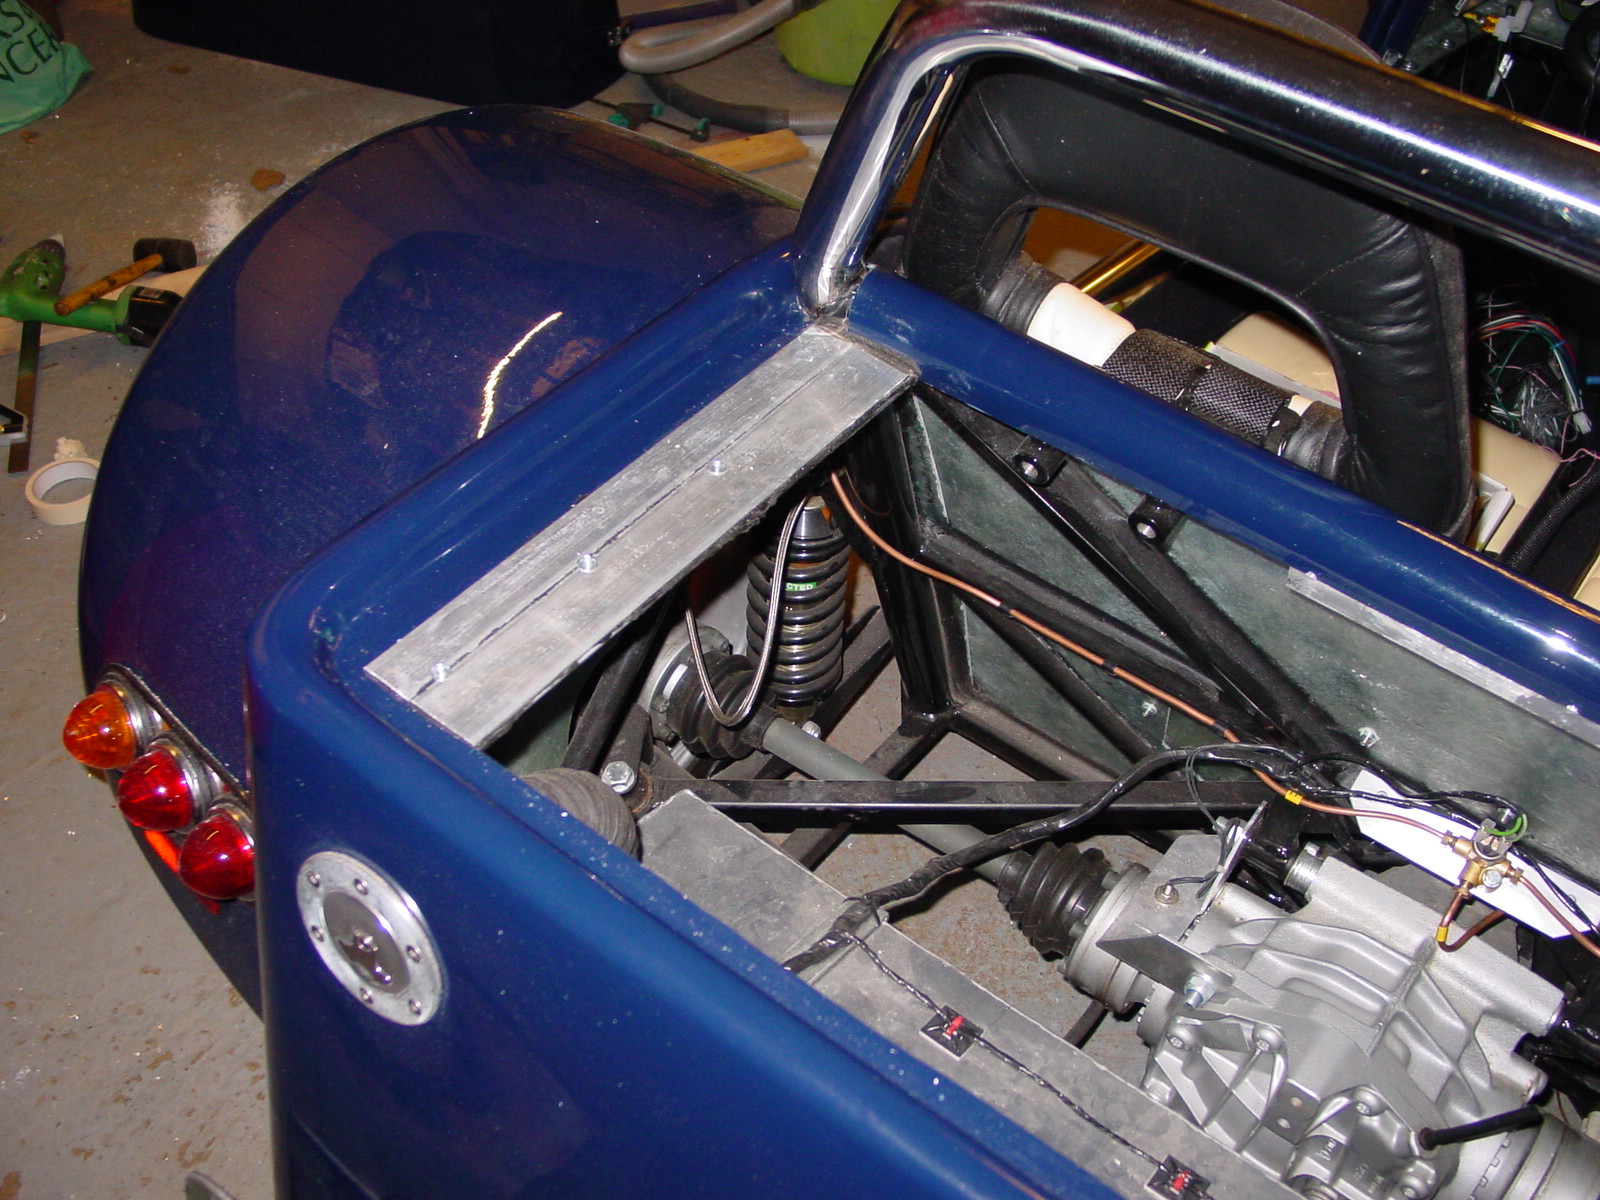
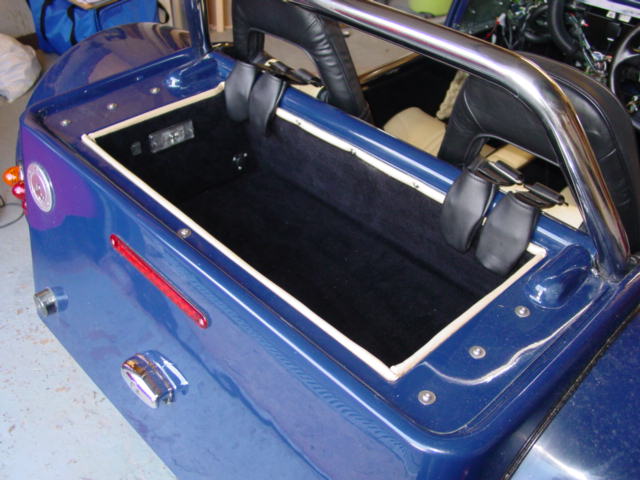
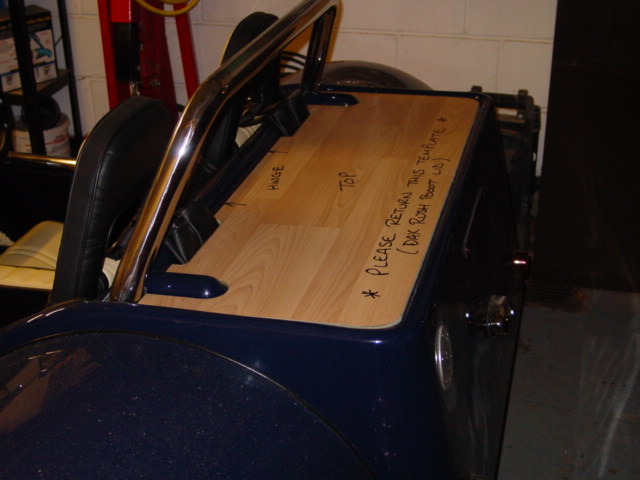
The rear boot box never seemed to fit right from the start. After checking measurements the rear of the car is completely square however the GRP of the boot box seems to be out of square. Also there didn't seem to be enough of a lip on the rear tub to allow the boot box to be fixed in place. This was overcome by building out the lip with strips of aluminium with the boot box fixed down using button head screws along the sides and rear edge . Once the boot carpet was stuck in place I could finally fix the seat belts in place. I did make a template for a boot lid out of MDF which was used by a work colleague to cut out a stainless steel boot lid. I have still to work out how to fix the boot lid in place and will be a future project after SVA. Whilst at it, I wired in a light and auxiliary socket into the boot box just in case.
At this stage I was confident enough that the car was finished enough to apply for SVA. The form was filled in on 20th October. To my surprise, only 5 days later I received confirmation that the test was booked for 4th November at Beverley test centre.
|


![]()
|
|
|
Registration speedo sensor, bonnet catches, final trim, MOT & SVA Nosecone, Rear tub, front mudguards, alarm Finishing fitting the dashboard Carpets, seats and Dashboard Making a start on the interior Lights working Bonnet, Nosecone, Headlights 1st drive Rear mudguards and lights Engine loom wiring, Alternator bracket, Distributor, Engine Started, Speedo sensor, Transmission tunnel fitting, Exhausts, Side panels Steering column, Front axle, Pedal box, Wheel studs, Fuel tank, Wiring loom, Rear tub, Remote oil filter, Front bulkhead / battery shelf, Column switches Footwell panels, Rear axle, Brake pipes, Rear bulkhead, Fuel pump, Engine installed Collect kit from Dax, Painting chassis, Remote oil filter takeoff plate, Floor panels, A frame bushes Gearstick remote, Baffled sump Preparing LT77 gearbox, exhaust options, Costs for kit 3.62:1 LSD Front hub bearings, Engine age Preparing donor differential, drive shafts, hubs |