![]()
Revised
31/12/2011
.
|
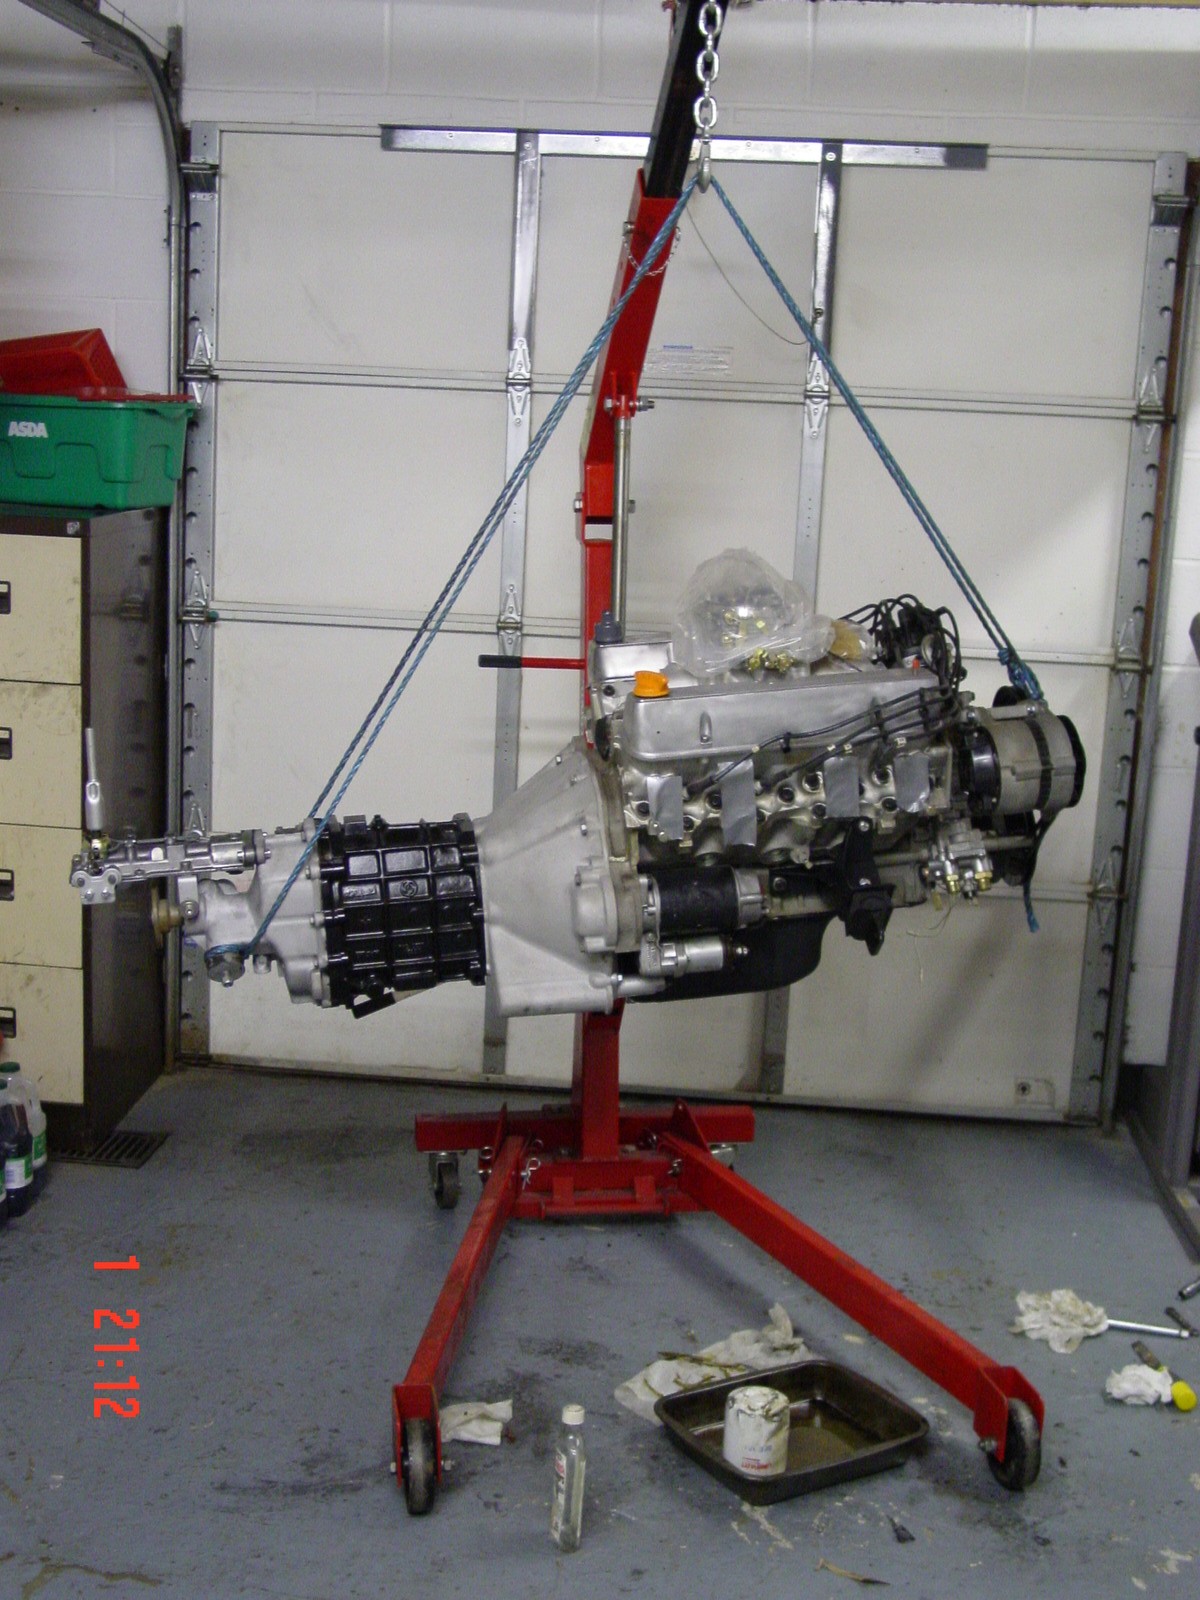
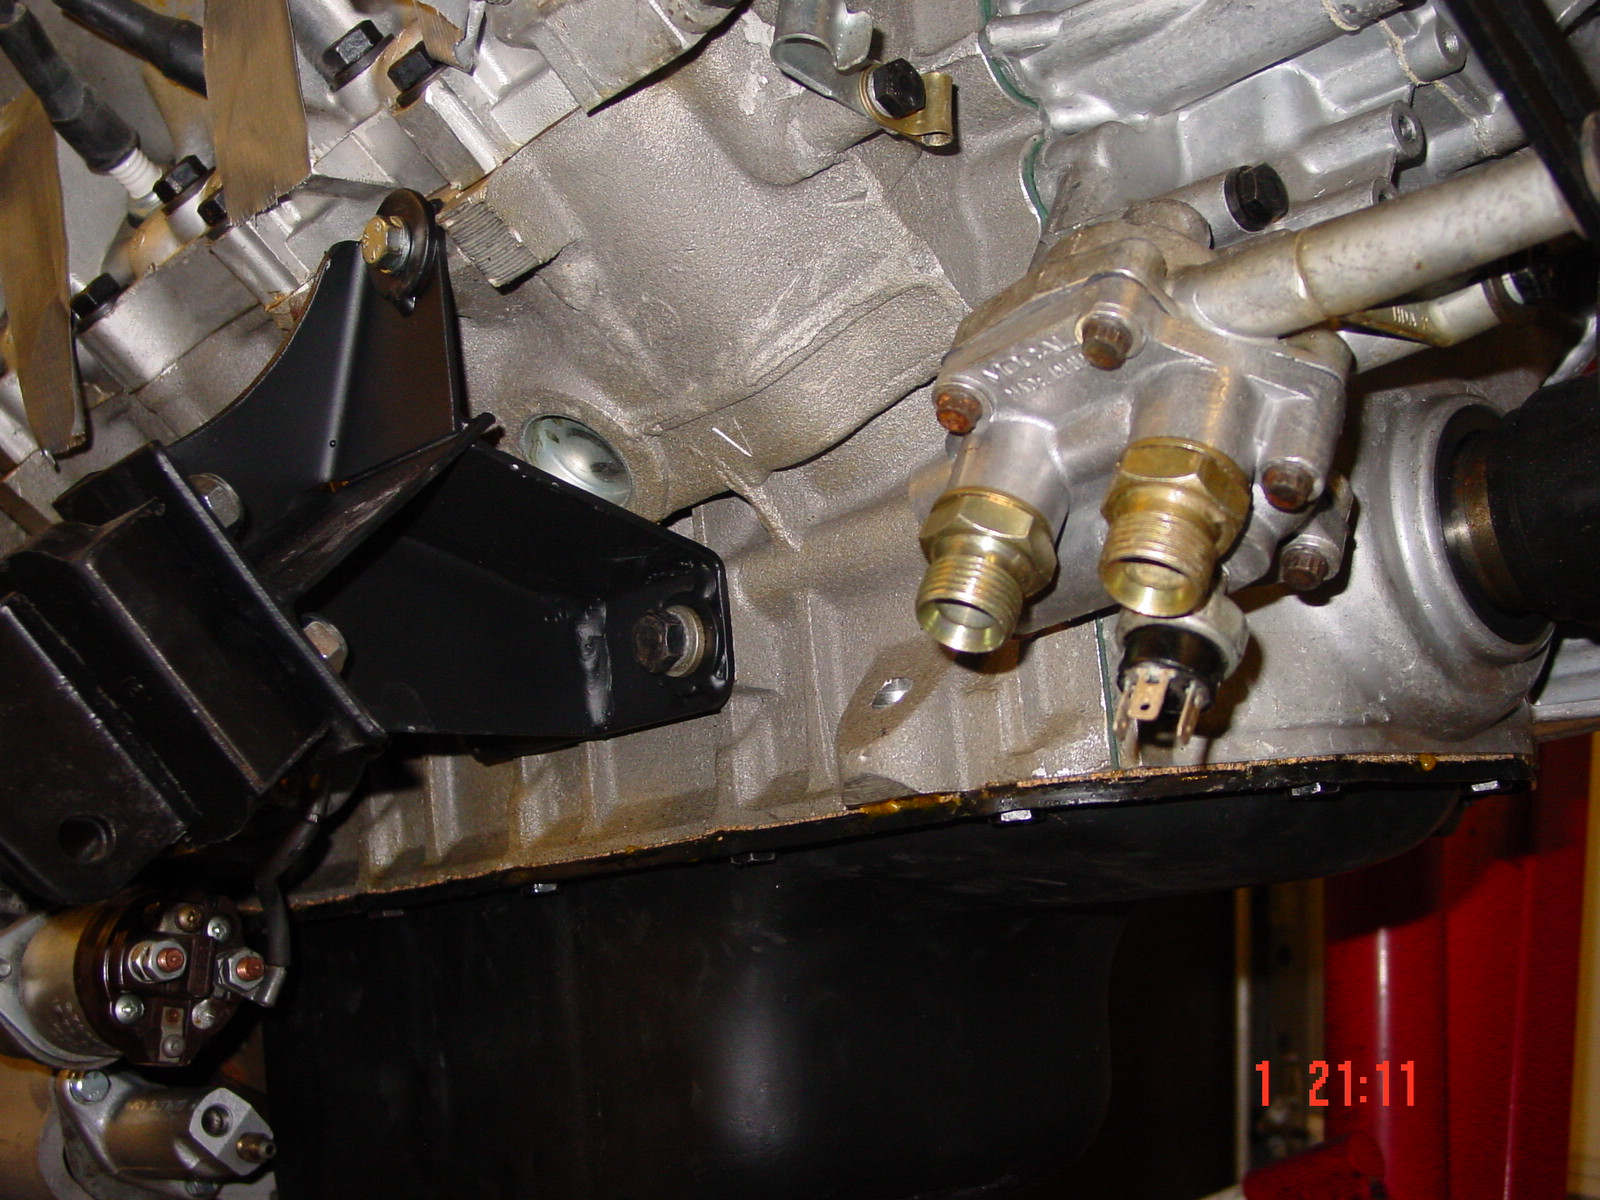
Well the kit should be ready this month - hopefully not long now !!! Plenty of packages with bits and pieces coming through the post. Ordered a new Spal radiator fan through an advert on Find-it a couple of weeks ago which turned up. Not bad for £20 !, just hope it works ok. Also a thermostat housing and rear water pipe connector for the inlet manifold turned up from Abbey Sportscars. These took a bit of fitting as threads in manifold were tight for the bolts and needed tapping to ease fitting them. Having not opted for factory powder coating for the chassis, I placed an order with Frost for a POR15 chassis paint system so that I have the paint ready for the first job on the chassis.. Having fitted the sump last month, and whilst the engine is still swinging on the engine hoist decided to remove the old oil filter and fit the take off plate for the remote filter housing. The oil pump was fully filled with Vaseline to prime the pump once I get to a stage when the engine can be started. The take off plate only has one opening to fit the original oil pressure switch. I will to buy a 'T' adapter to be able to fit the oil pressure sender as well.
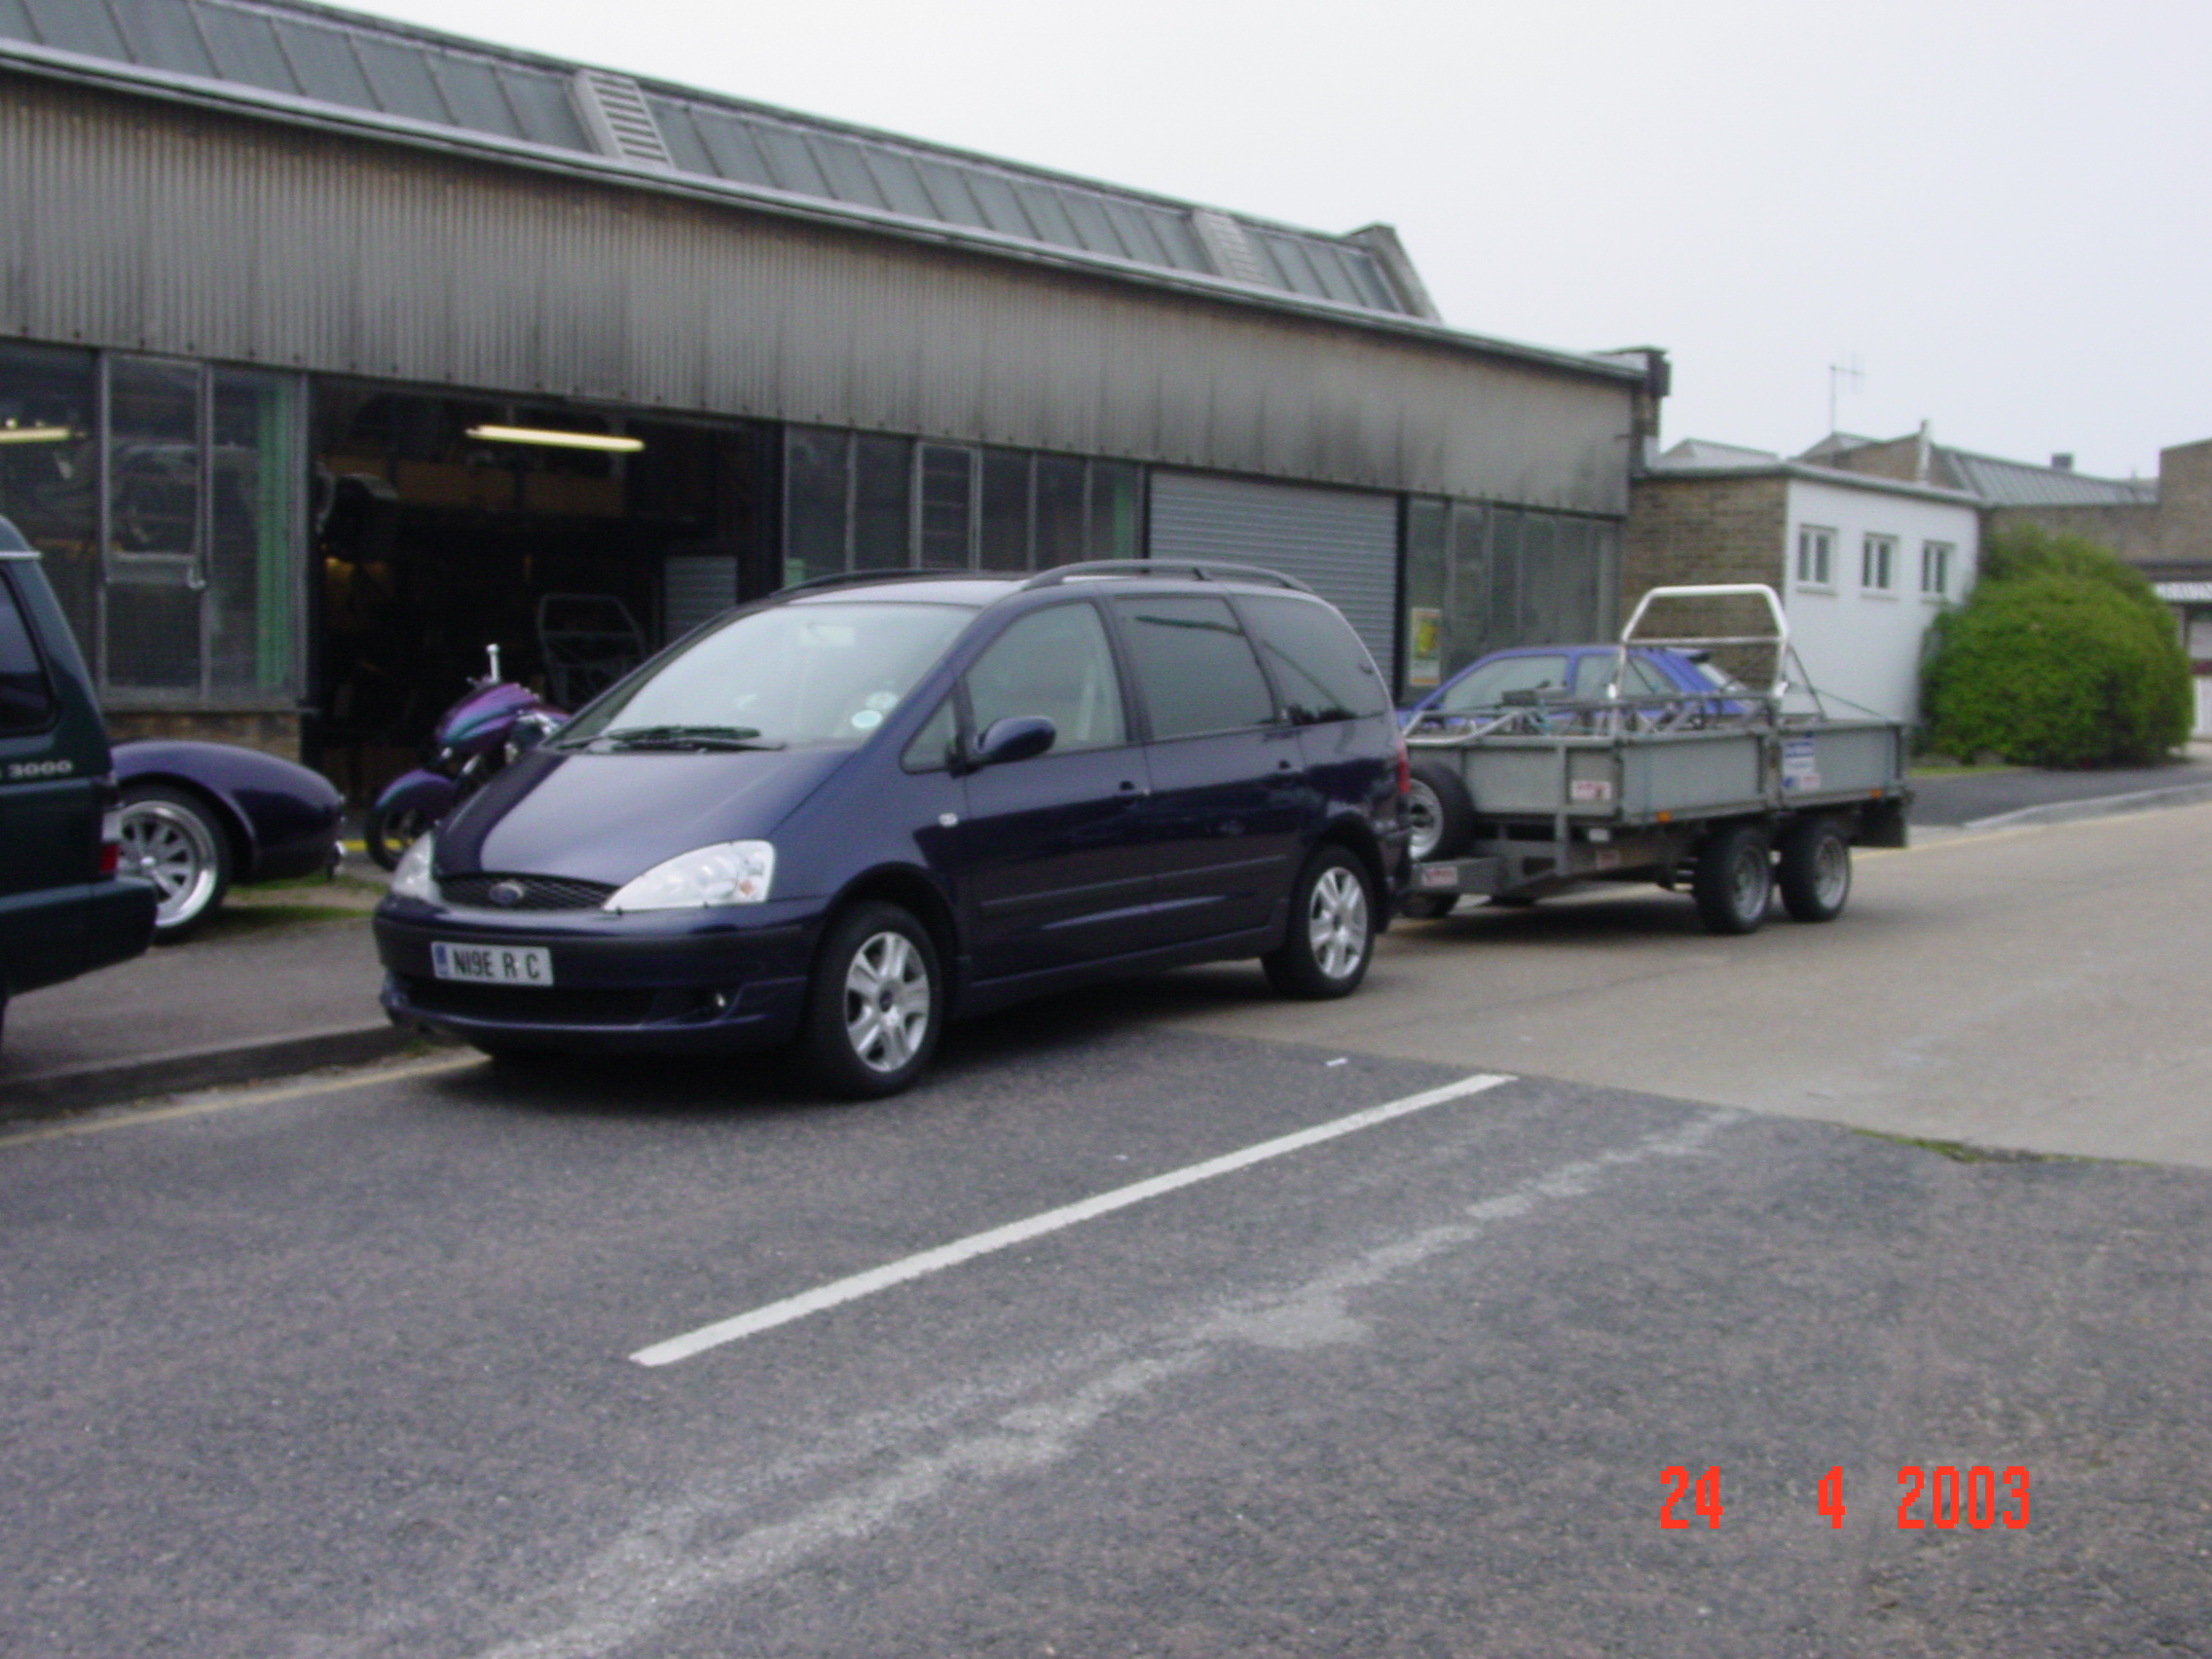
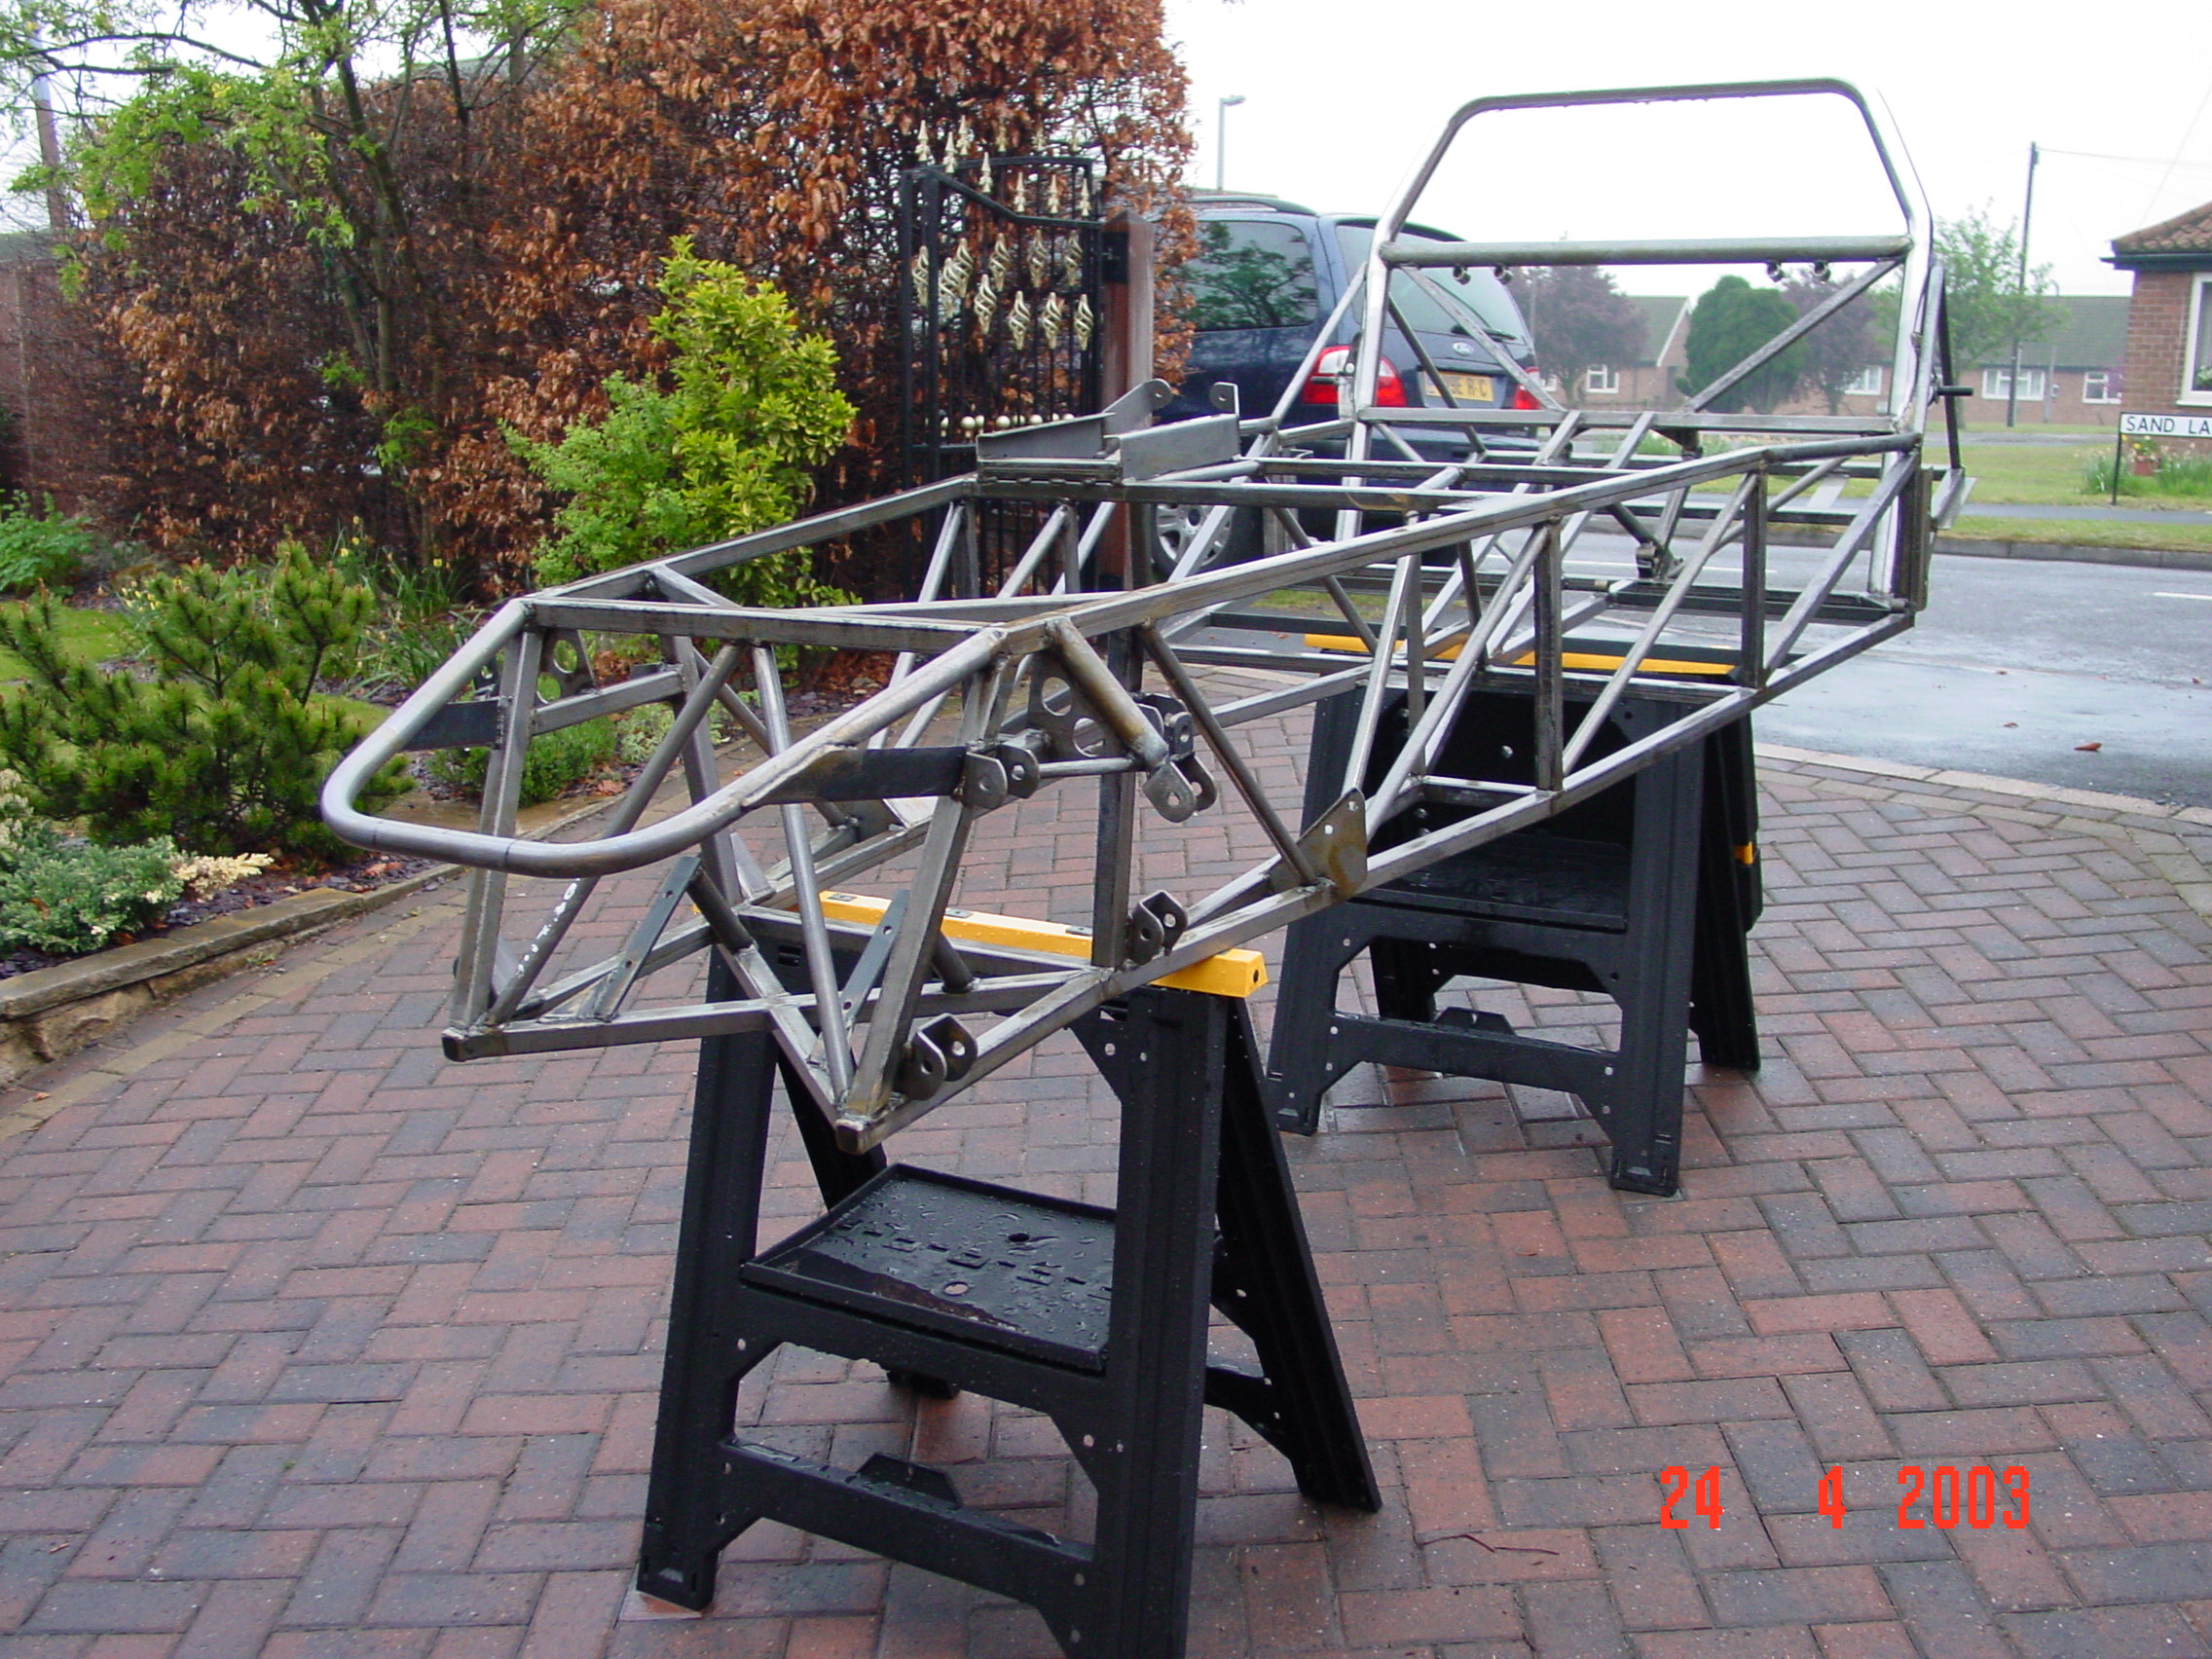
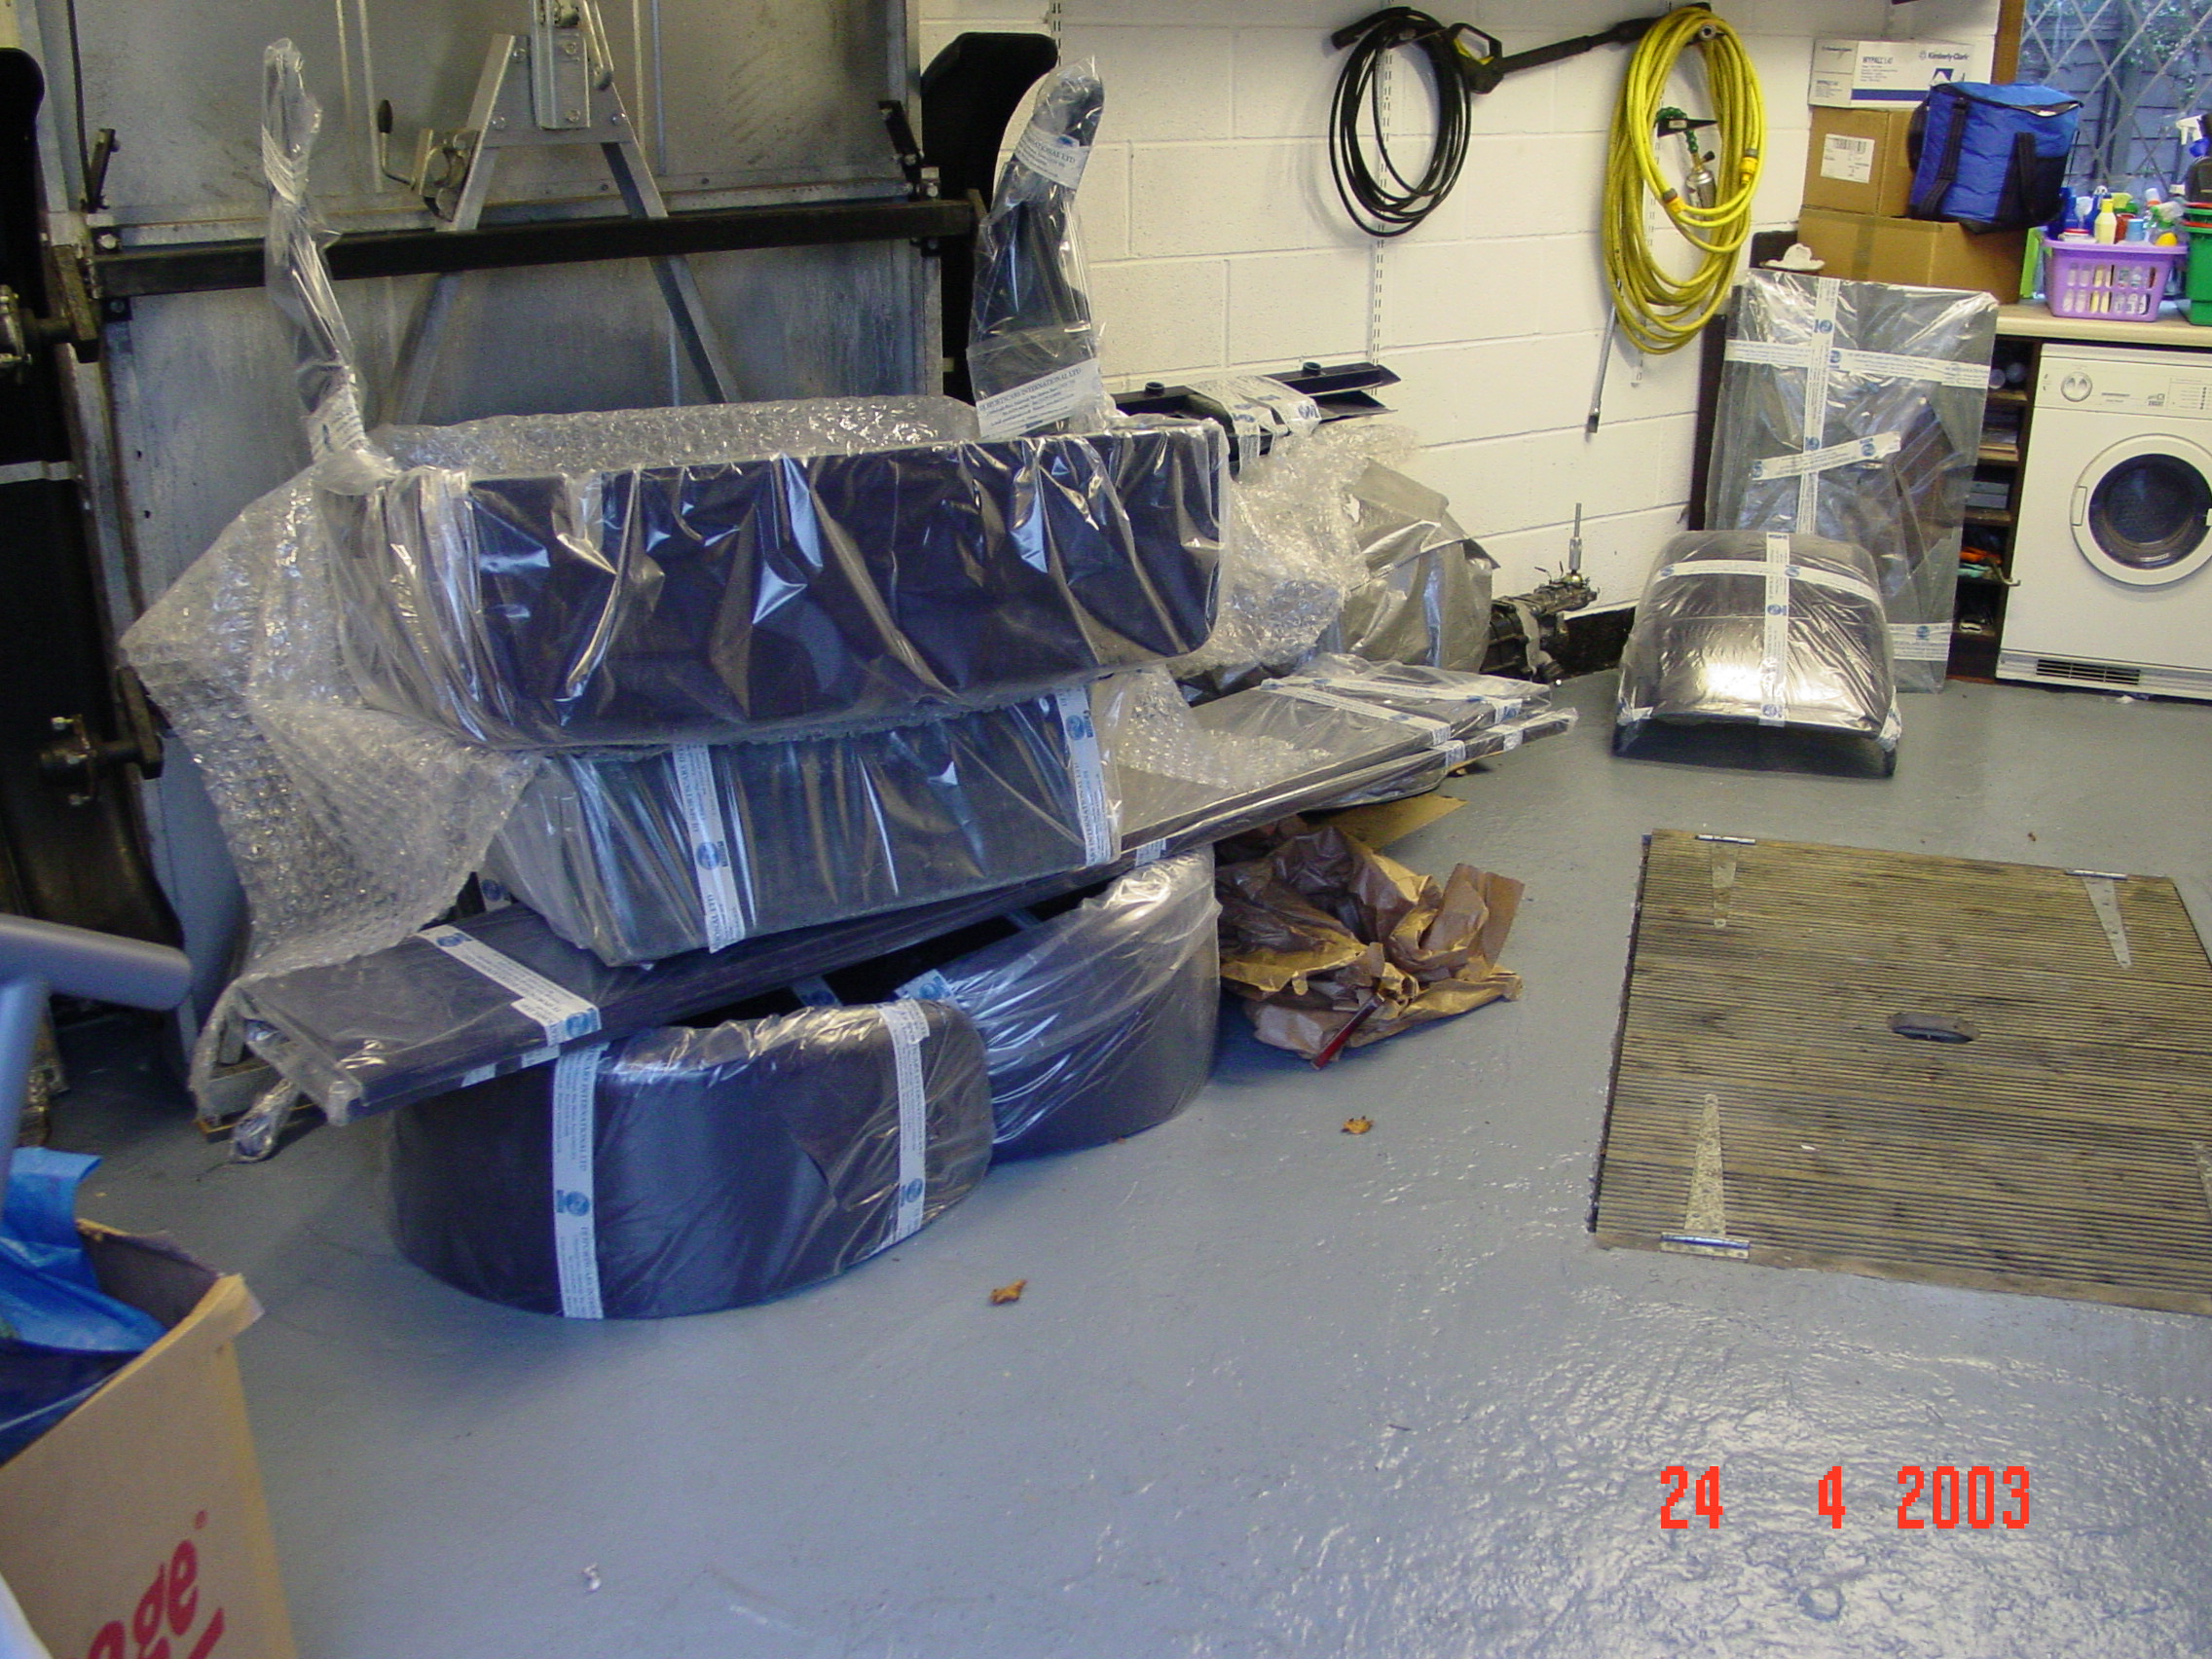
24th April finally arrived and with an early start set off to Harlow at 6:30am. Build Packs 1 to 4 were ready for collection although I will have to return in a couple of weeks when the rest of the parts are ready, although with the car and trailer full it was probably best that there wasn't anything else to transport. Darren at Dax helped load everything although I can understand previous complaints I have read about not knowing what parts you have collected, especially when everything is wrapped up and in boxes. I realised 10 minutes after leaving Dax that I hadn't seen any aluminium panels so after a quick phone call turned back, but later found that the wing piping, self adhesive foam, track rod ends and steering rack fixings were missing - you would have thought they would have had a check list for what you were taking.
The 360 mile round trip didn't seem to take that long considering I was pulling a trailer and was back home for 2:30pm. First job to unload and find out where to put everything.
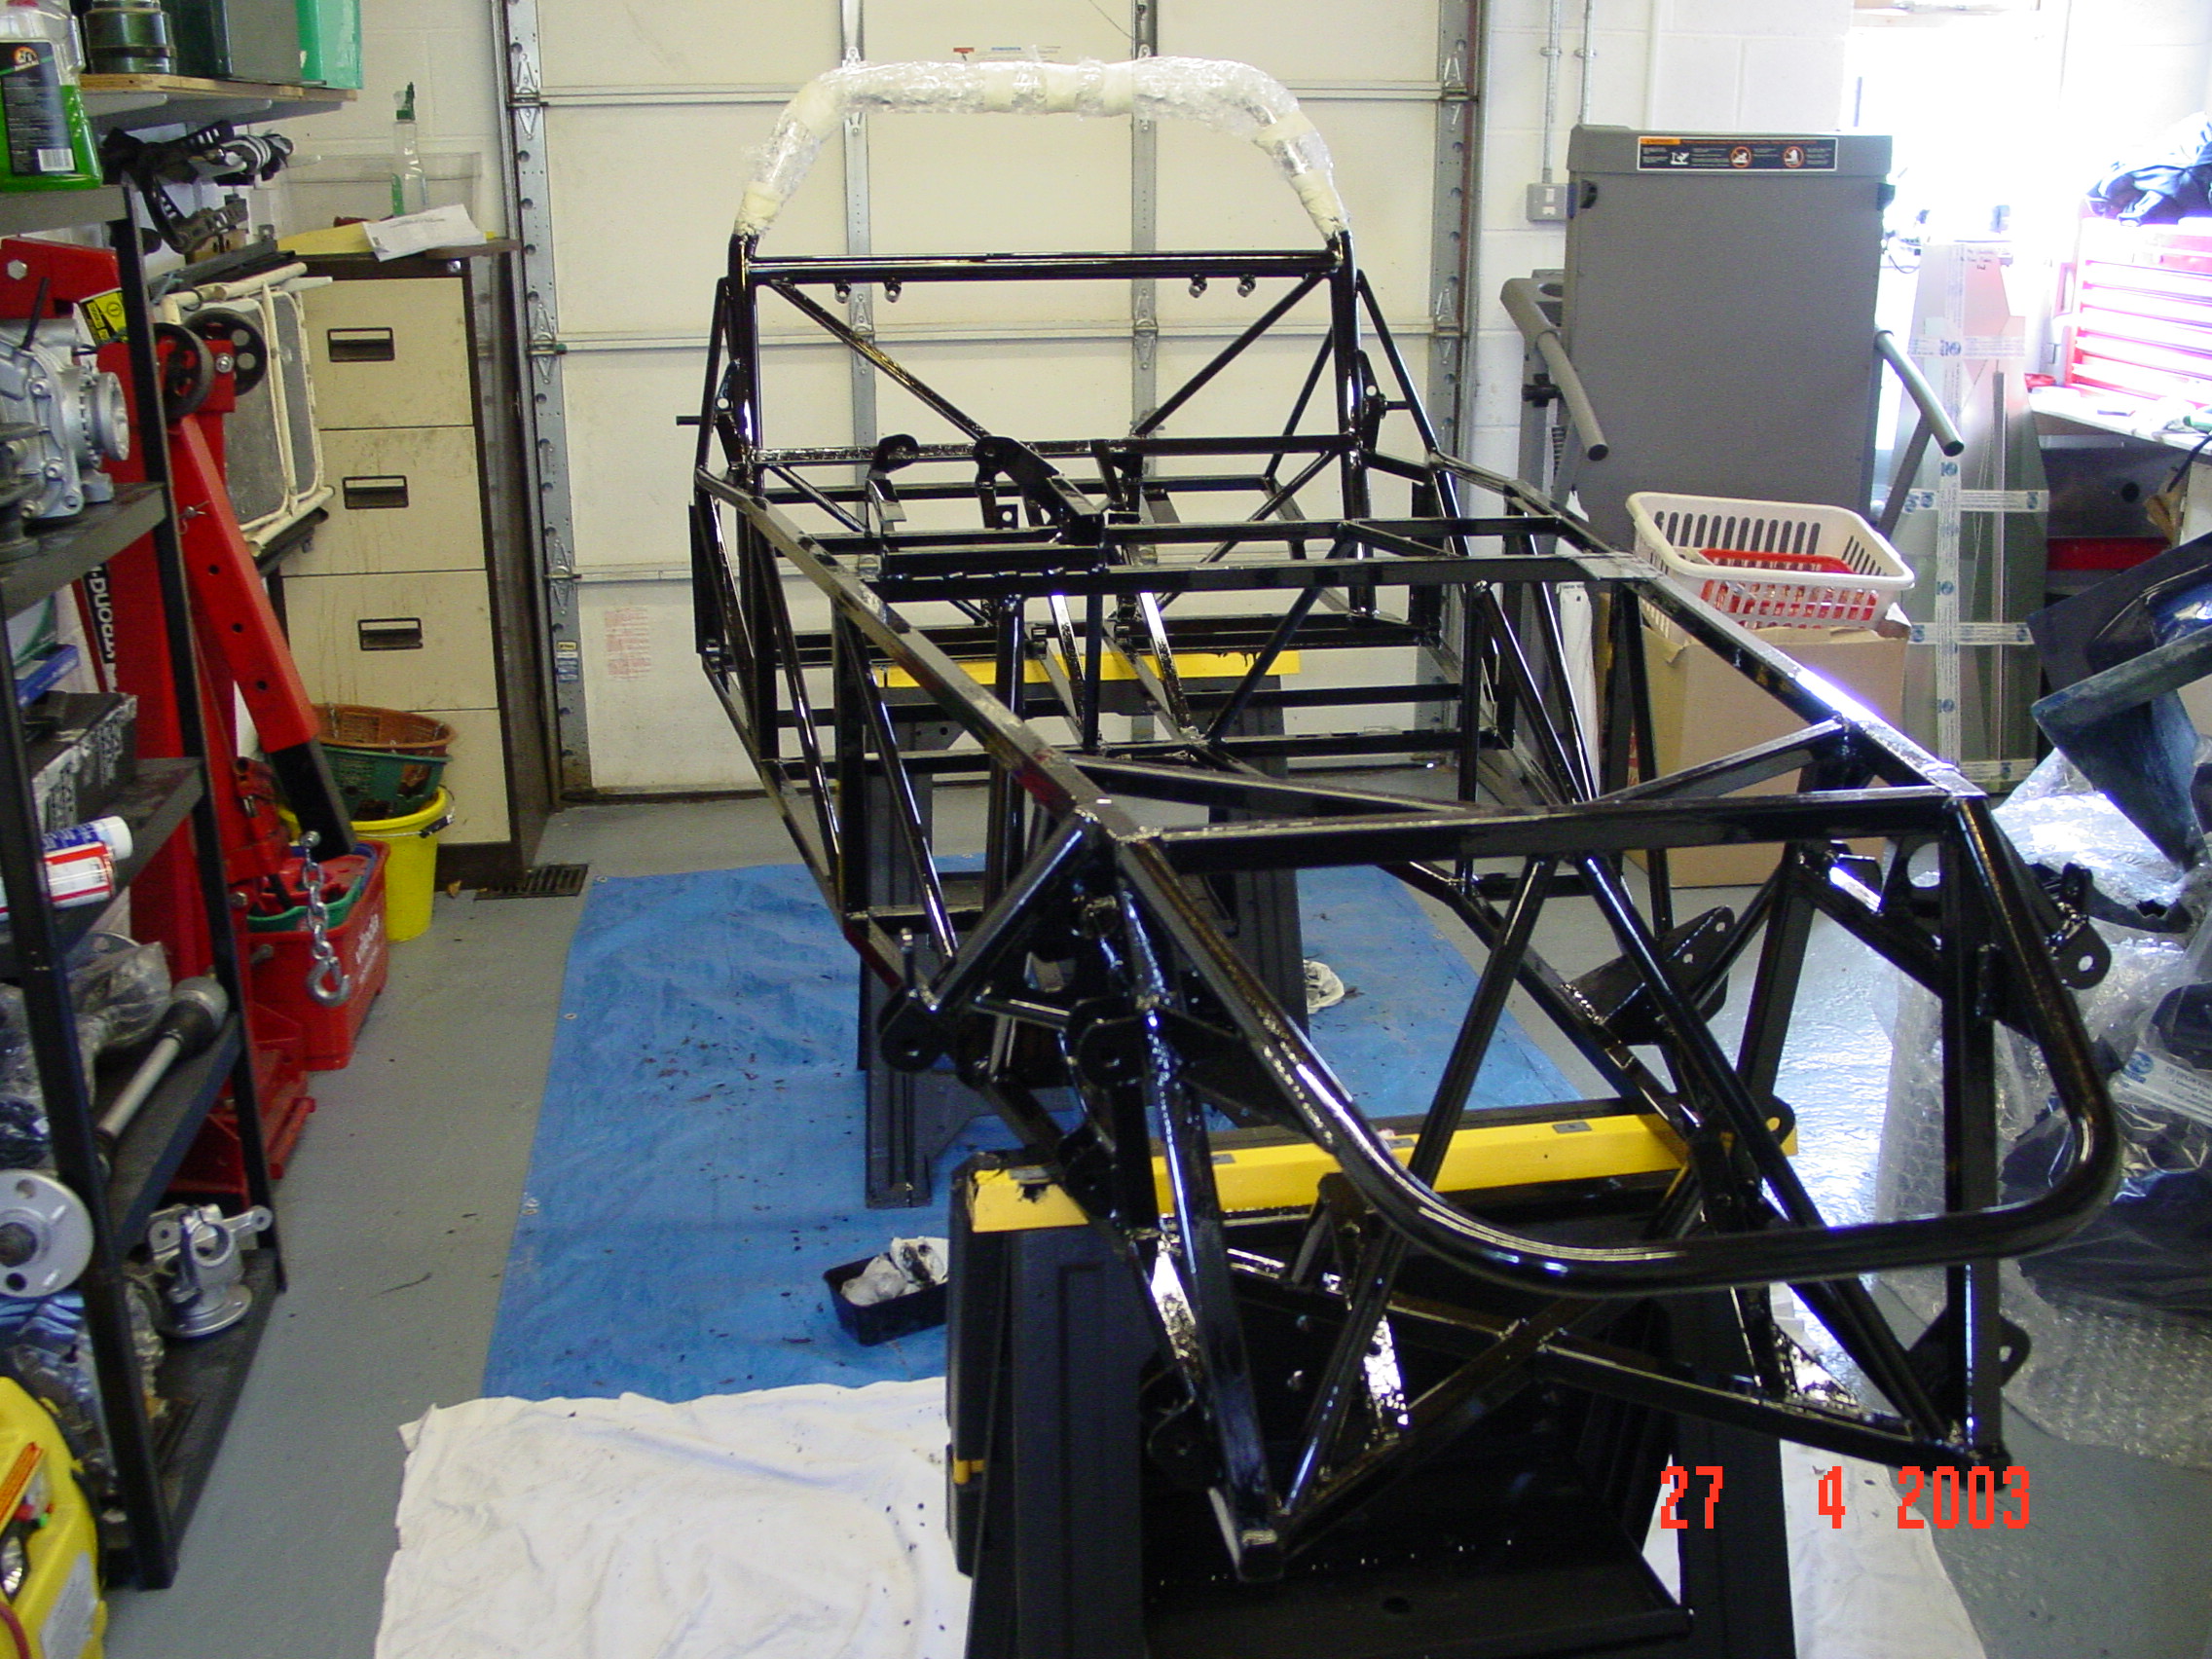
Having tried to save money on not having the chassis powder coated, deciding to paint with POR15 instead, I started by spraying the bare steel with the 'Metal Ready' etch primer and after leaving overnight to dry started painting. After seeing how much I had painted in an hour I was beginning to regret ever not having paid the extra for powder coating thinking that I could be on with fixing panels by now. However, I soldiered on and after about 4 hours the first coat was finished - only had to wait for it to dry so I could start all over again with the 2nd coat.
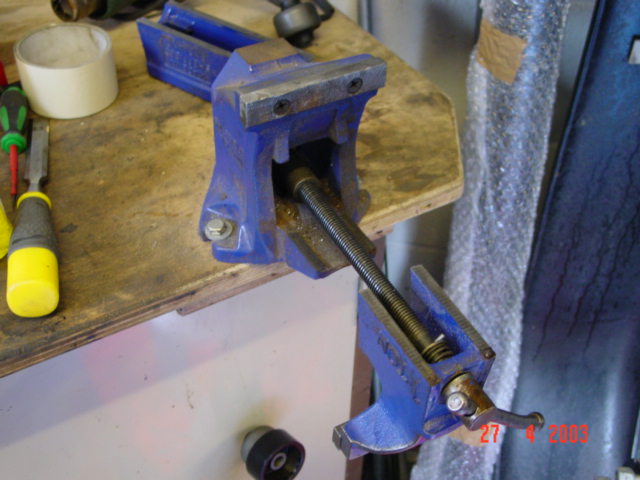
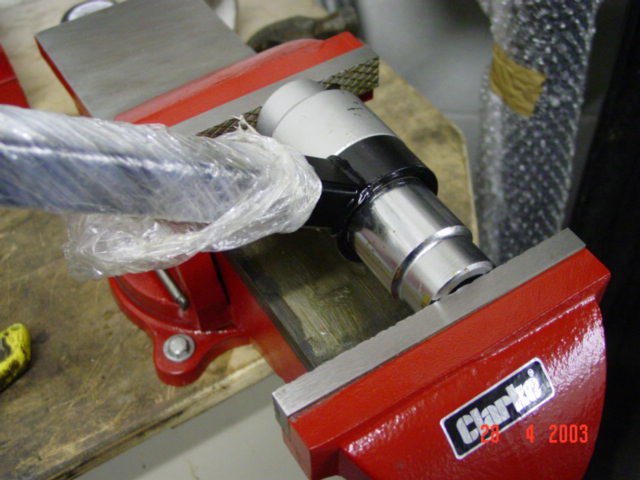
Whilst waiting for the paint to dry I decided to have a go at inserting the rubber bushes into the A frame. The build diary recommends pressing them into the frame using an hydraulic press or heavy duty vice, although I have read on build diaries about using steel plates and a threaded bar to pull the bush into position. Although my vice wasn't particularly heavy duty I though I'd give it a go. I tightened and tightened the vice but the rubber bush didn't seem to want to move, so with a bit of tube to get more leverage on the vice, tried turning. Bang - the base of the vice shattered. This gave me a valid excuse to invest in a heavy duty vice from Machine Mart. With the aid of two large sockets the bushes pressed into the A frame in a matter of a few seconds. The tip here is to follow the instructions and use a big vice ! On a website matter, decided that from now on all photo's will be taken at the lowest resolution as it's taking too long to download the full size photo and will be using up my allowable web space.
With the chassis painted, It was time to turn it over and fix the aluminium floor panels. All straight forward except that it took far longer than expected and didn't expect fixing the pop rivets to be so tough. Although Dax recommend 2 tubes of Wurth for the entire build, I used up a tube just on the floor panels. Not having a set of tin snips, I used an electric jigsaw to trim down the panels which although worked well tended to scratch the aluminium so will have to come up with a better method for those panels that are going to be seen.
Before turning the chassis back over, I used some black Hammerite Waxoil underseal to coat the aluminium panels, which although looked good meant that for the next few days the underside of the chassis was sticky whenever you touched it or brushed past it. |


![]()
|
Registration speedo sensor, bonnet catches, final trim, MOT & SVA Nosecone, Rear tub, front mudguards, alarm Finishing fitting the dashboard Carpets, seats and Dashboard Making a start on the interior Lights working Bonnet, Nosecone, Headlights 1st drive Rear mudguards and lights Engine loom wiring, Alternator bracket, Distributor, Engine Started, Speedo sensor, Transmission tunnel fitting, Exhausts, Side panels Steering column, Front axle, Pedal box, Wheel studs, Fuel tank, Wiring loom, Rear tub, Remote oil filter, Front bulkhead / battery shelf, Column switches Footwell panels, Rear axle, Brake pipes, Rear bulkhead, Fuel pump, Engine installed Collect kit from Dax, Painting chassis, Remote oil filter takeoff plate, Floor panels, A frame bushes Gearstick remote, Baffled sump Preparing LT77 gearbox, exhaust options, Costs for kit 3.62:1 LSD Front hub bearings, Engine age Preparing donor differential, drive shafts, hubs |
|
|