![]()
Revised
31/12/2011
.
|
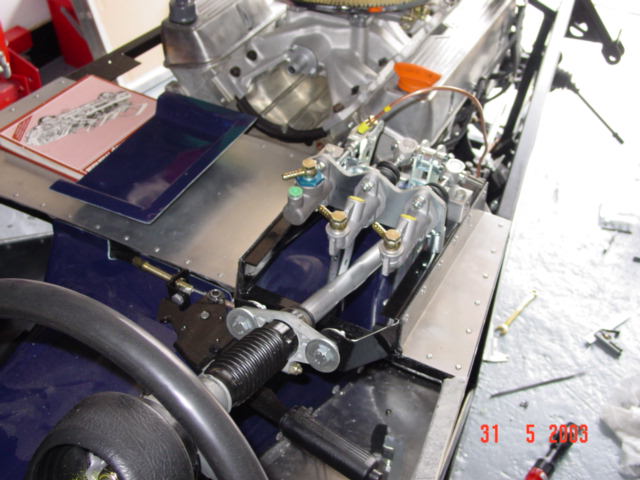
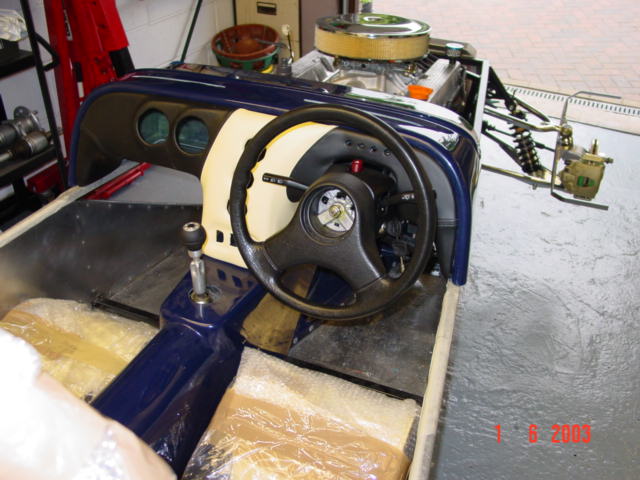
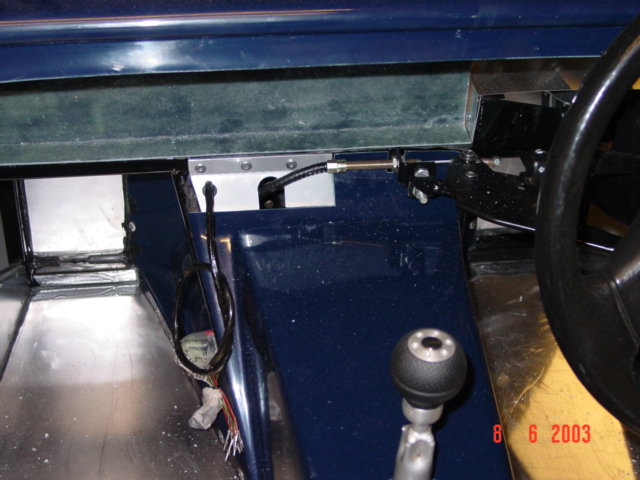
With the steering column extended whilst I collected the parts from Dax, I was able to get this installed. One slight spanner in the works was that I had not been supplied with the lower column bracket for use with a V8, however one arrived next day in the post. Everything seemed to fit as required, however I found that I didn't need to grind anything off the engine mount as there was about 10mm clearance, despite other build diaries reporting that grinding to the mount was necessary to allow clearance. Although it seems trivial it was quite an achievement to turn the steering wheel and see the steering rack move.
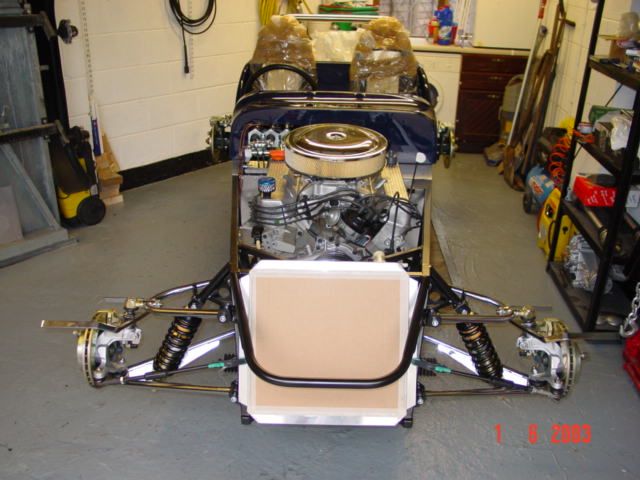
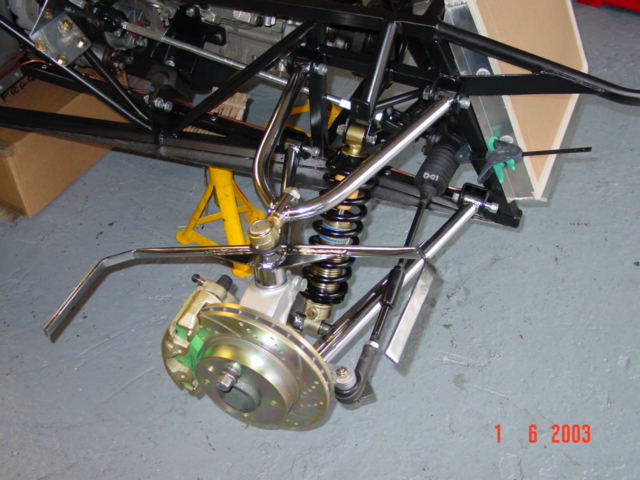
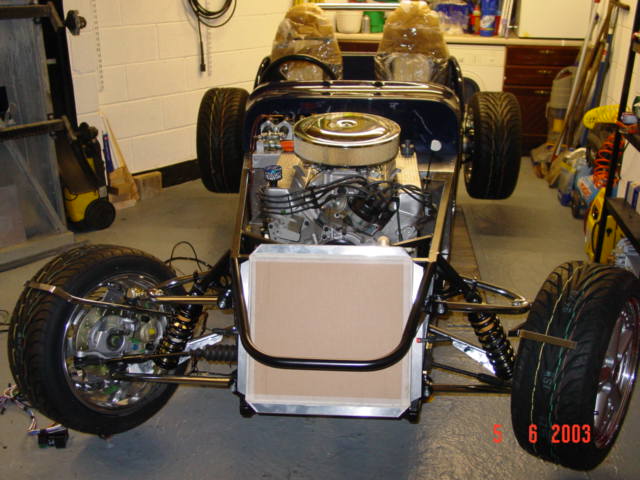
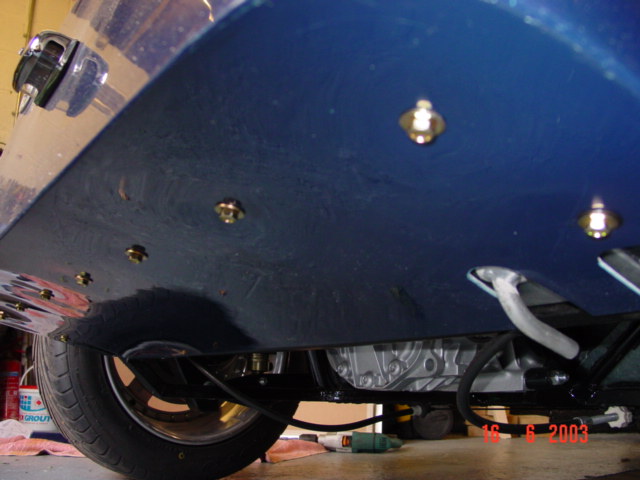
Although the front axle shouldn't really be fitted until the side panels are in place (which can't be fitted yet as I need the exhaust first), I thought it best to be able to get the wheels on and be able to move the car out of the garage if needed. After the performance with fitting the bushes into the A frame, the heavy duty vice was used again to push the ball joints into the lower wishbone. These were fitted with little effort once I'd managed to get everything lined up in the vice, using sockets as spacers. The hardest part of assembly was fitting the front mudguard brackets intro the hub carriers. After trying a rubber mallet to knock the bracket into the opening, resorted to a lump hammer and plenty of cardboard to protect the chrome plating. After following the Dax manual for the first side, I found it easier on the other side to attach the upper ball joint to the hub carrier first before attaching it to the upper wishbone. After all the effort on the front end, I thought I'd have a go at attaching the dashboard. This will need trimming slightly around the steering column surround, although decided to leave that for another day and put the dashboard in the loft.
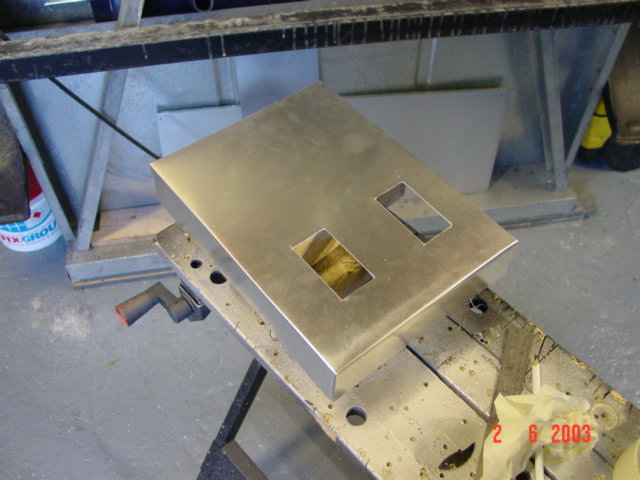
Whilst waiting for the wheels to arrive, which were due anytime now, a pedal box cover was fabricated. I had bought a piece of aluminium from B&Q previously which although expensive (about £7 for a 500x500 piece) seemed ideal for making up the cover. Although only thin It could be cut with a stanley knife and was rigid enough when folded into a box. Holes were cut for the pedals and it was pop riveted into place before bolting the pedal box into position.
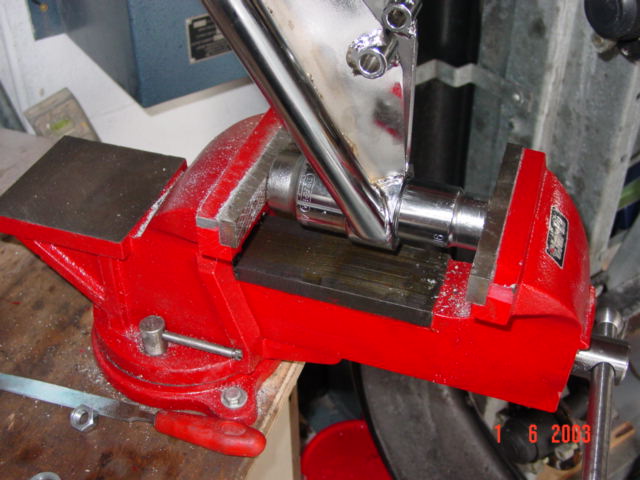
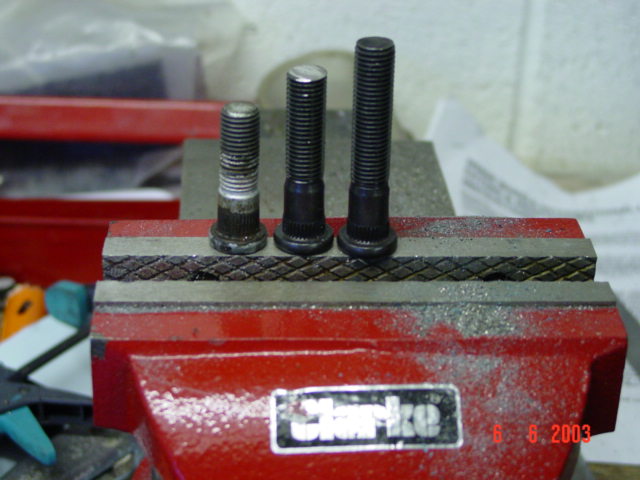
The wheels arrived the next day, although this brought about the dilemma of whether the sierra studs were long enough. Having tried the wheels for size, it was obvious that although the original studs allowed the nut to be attached, it would be better to have them 5 to10mm longer. Larkspeed in Leeds had extended studs in stock and at £1 each incl VAT seemed quite reasonable. These were cut down to 52 mm long. (the photo below shows from left to right original sierra 42mm stud, extended stud cut down to 52mm, 62mm extended stud). I was pleased to find that the Dax price for the Image wheels had included chrome wheel nuts and a jar of resin wheel protector.
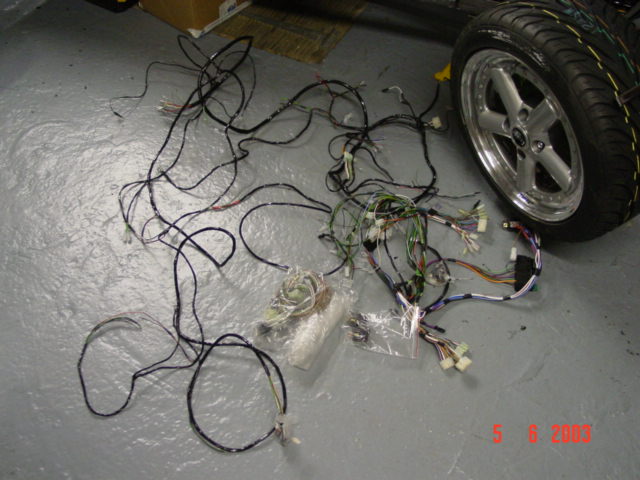
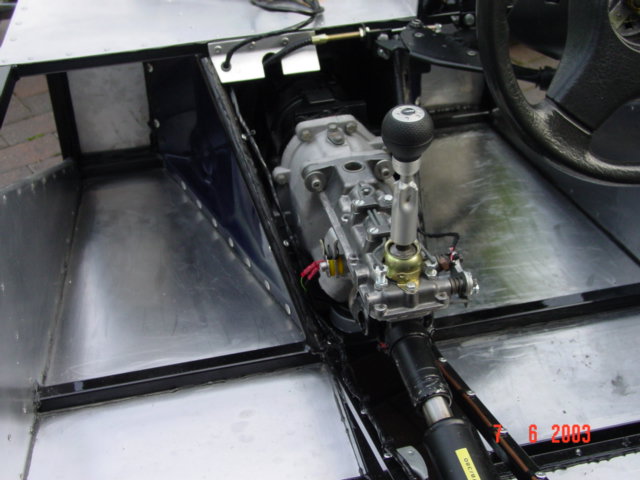
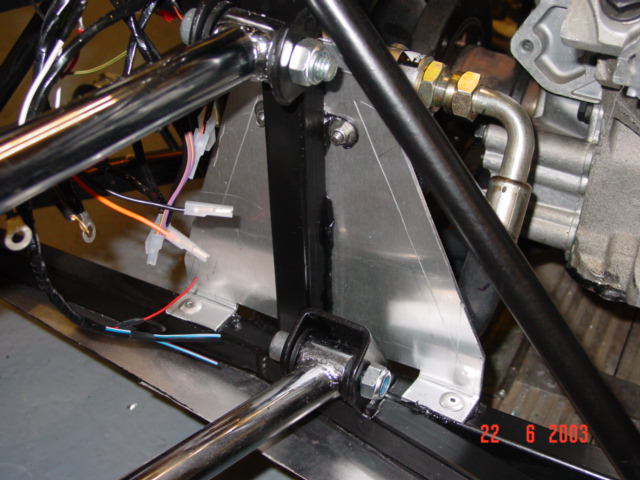
Next task was to fit the rear wiring loom so that the rear tub could be fitted. The rear wiring loom didn't seem long enough to route around the rear chassis and in the end was routed over the petrol tank which although it won't be seen wasn't as neat as I would have liked. The wires to the petrol gauge sender and pump were split from the loom to aid routing of the cables. The loom was taking along the top chassis rail of the transmission tunnel and up through an aluminium bracket (borrowed from an idea from Chris Bell's web site). Whilst the centre cover was removed, I took the opportunity to bolt the propshaft to the gearbox. I had ordered the correct bolts from Rimmer Bros. The holes within the propshaft needed enlarging slightly (by about 1mm) to allow the bolts to be fitted, which wasn't the easiest of things to do with the propshaft in place. It seemed another achievement had been reached being able to roll the car outside and work on it in the sun. This seemed to attract a few comments from passers by, which started me thinking about insurance, given the amount of money that has gone into the car so far. A quick phone call to Adrian Flux and £150 later and the car was insured.
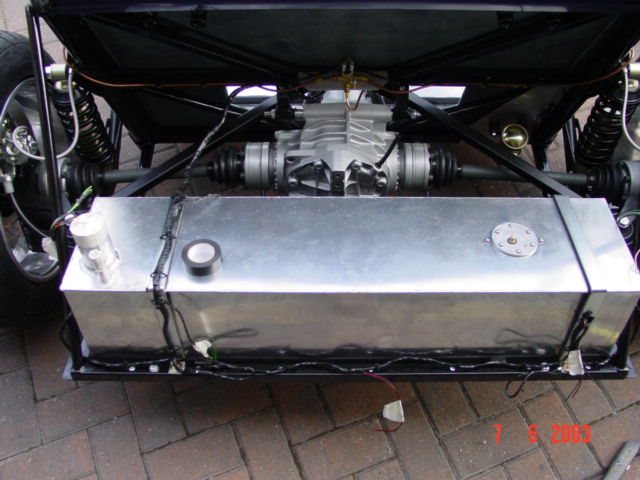
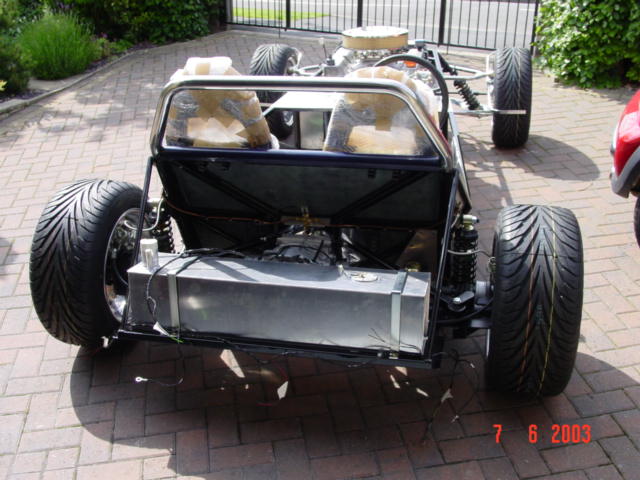
The rear tub could now be fitted. Aided with a number of clamps and use of the jack and piece of timber to support the underside, the tub was positioned. The chassis rails around the fuel tank were marked on the inside face of the GRP with a permanent marker. The tub was then removed and ideal position of fixings marked on the inside. A 2mm drill bit was used to drill pilot holes through from the inside and these were then enlarged, drilling from the outside face, to suit the hex head self tappers being used for fixing. The tub was then offered up again for marking of the holes on the chassis and removed for drilling. Finally, after applying plenty of Sikaflex, the tub could be fixed into position.
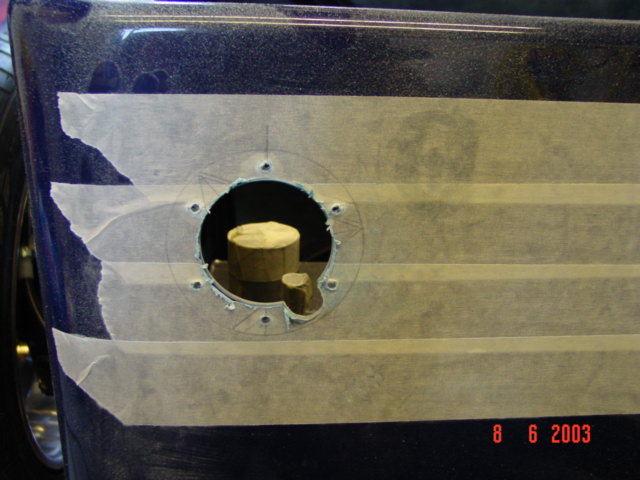
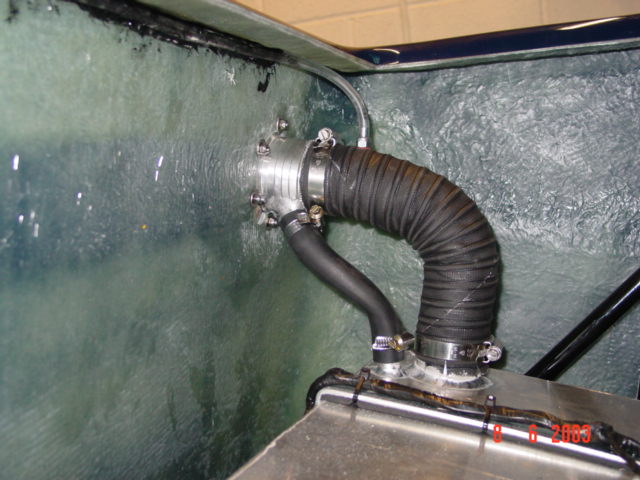
With the rear tub fixed, the filler cap and hoses could be fitted. The top of the filler cap was fitted 60mm down from the top of the tub to allow clearance should a cover / softtop be fitted later. A core cutter was used to cut the main hose and a dremel with sanding attachment used to notch out for the vent pipe. The main problem with fitting the hoses was with fitting the smaller vent pipe as the pipe was not flexible enough to fit without kinking and distorting. This was resolved by shortening the solid stub connection from the tank, which was cut using a hacksaw. A piece of kitchen paper was inserted into the pipe first to stop any debris getting into the tank. Whilst working on the rear end of the car, the lights were fitted. The circular fog and reversing lights supplied now by Dax were reasonably straightforward to fit. A 56mm core cutter was used to drill the holes first, and the lights stuck into position using Sikaflex, remembering that the lenses need to installed at 90 degrees to the ground.
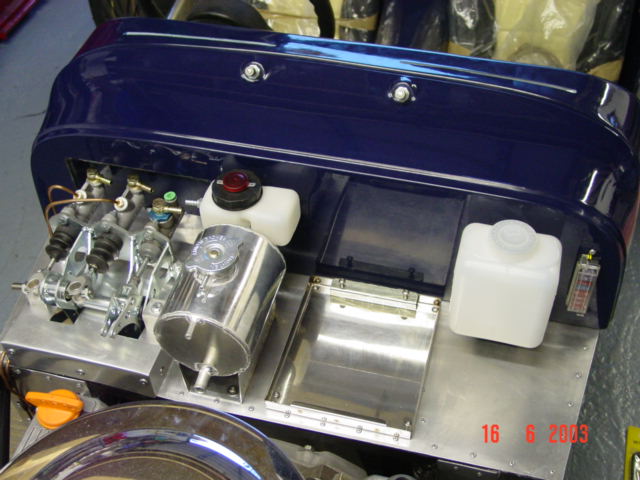
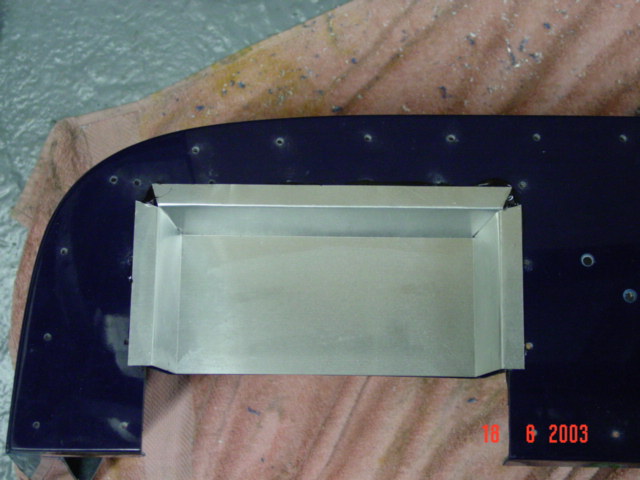
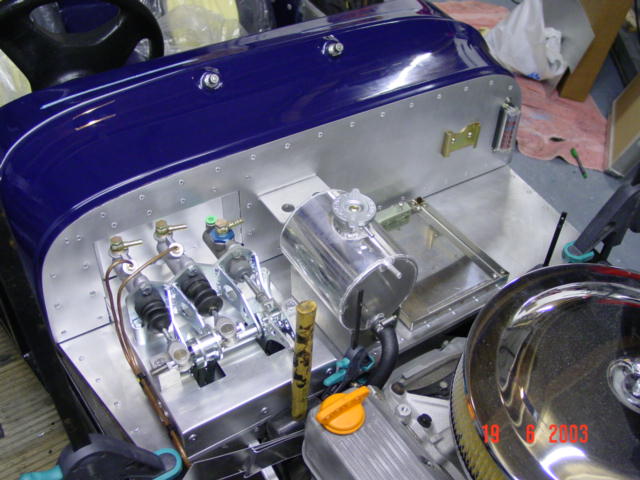
The Dax build manual states that fitting of the windscreen wipers is straightforward, however I was struggling. I couldn't seem to get the wiper boxes to fit, until after a phone call to Dax, it was apparent that the spacer tubes for fixing the wheel boxes in place were from a Tojiero. With the correct spacers, the wiper system was installed and the position for the aluminium bracket marked and stuck into place. With the wiper motor fitted, there was nothing else I could do with the scuttle until the heater arrives, so turned my attention to the battery shelf. The expansion tank and battery tray were fixed to the shelf using rivnuts. The components fixed to the bulkhead were only trial fitted as they will have to be removed to fit the aluminium panel.
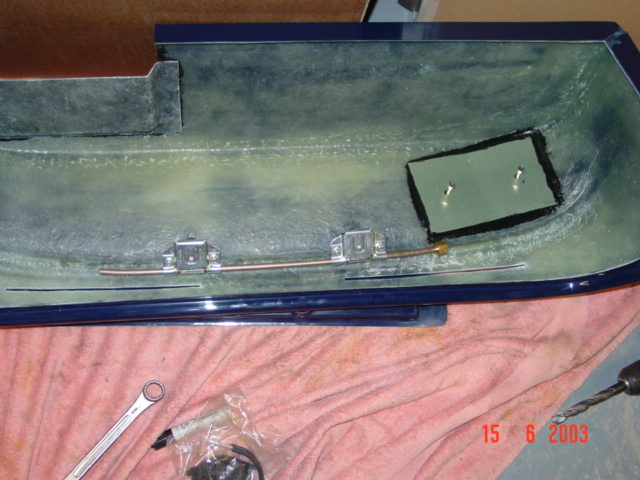
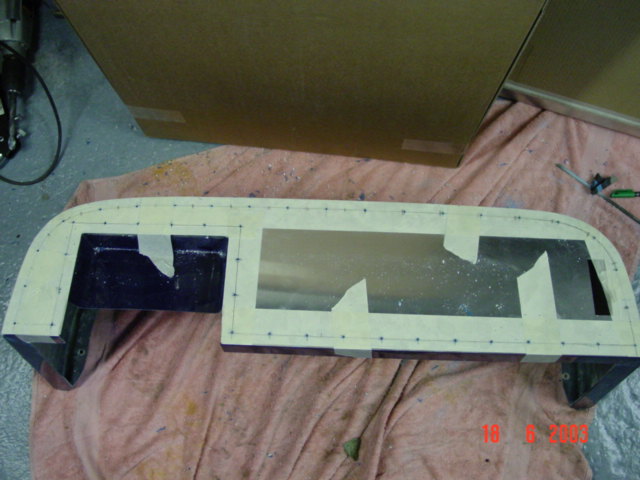
For the aluminium panel for the bulkhead, I ended up buying more aluminium from B&Q - maybe expensive at £15 for a 500x1000 sheet, but at least convenient. At 0.5mm it wasn't particularly thick put would be adequate when attached to the GRP. For the first attempt at cutting out the panel I used a jigsaw with fine cutting blade which gave the right shape but buckled the panel slightly. As there was enough material for two, I used the first one for a template to cut the second this time scoring the surface several times with a stanley knife which produced the desired effect. Whilst at it, decided to fabricate a panel for the indent behind the master cylinders. To tidy up the front edge of the battery shelf and top edge of the footwell closure panels a 10x10 aluminium angle was stuck into place.
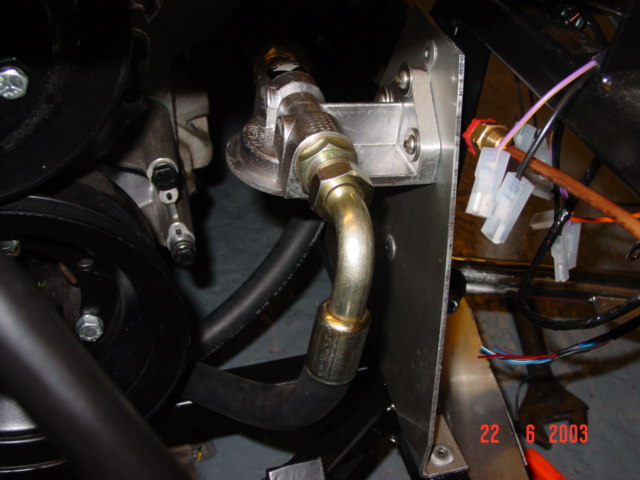
Having bought a Mocal remote oil filter kit, I had ended up with a set of hoses with 90 degree fittings which didn't seem long enough and restricted where the filter could be fixed because the fittings always ended up pointing in the wrong direction. Whilst reading the Think Automotive catalogue to order some new pipes and fittings, I noticed a section on how to alter the angle of the connections on the ready made sections of pipe. By holding the end of the pipe in a vice it was possible to turn the fitting to point in the desired direction. Having done this, a bracket was fabricated out of 3mm aluminium plate and pop riveted into position.
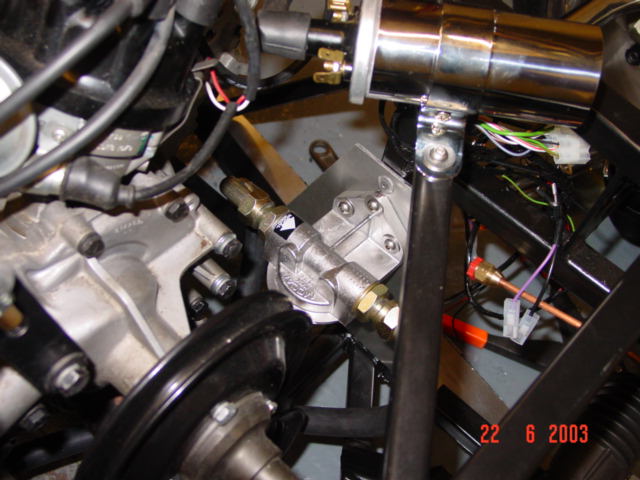
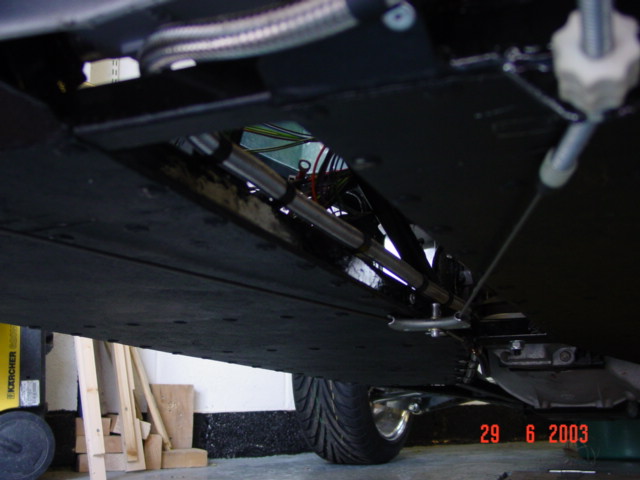
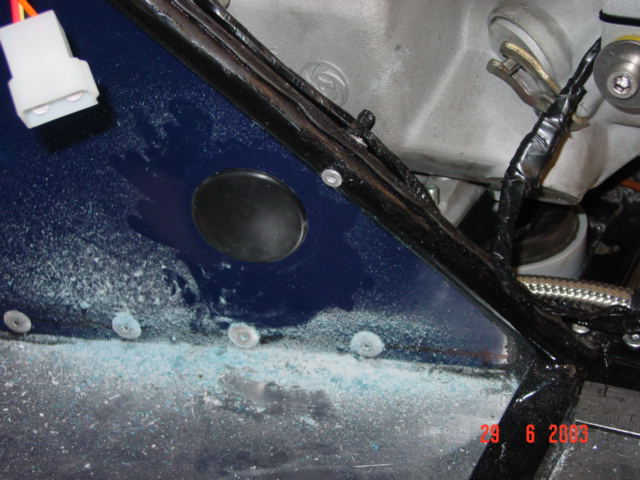
A 9.5mm rubber fuel hoses was used to connect from the fuel tank connection to the pump. Although a bit tight, the fuel hose did eventually go onto the fuel tank connection with the help of a squirt of WD40. Quite a bit of thought went into the routing of the fuel pipe along the transmission tunnel. It would have been easy to mount the pipe to the underside of the chassis but I wanted to protect everything where possible in the event of grounding. The pipe was clipped at close centres around the gearbox mount and the handbrake cable to prevent rubbing. Whilst the tunnel cover was removed, I core cut a hole for gaining access to the gearbox oil filler point. The hole was filled with a 50mm rubber blanking plug that had bought from a trade stand at the Newark show.
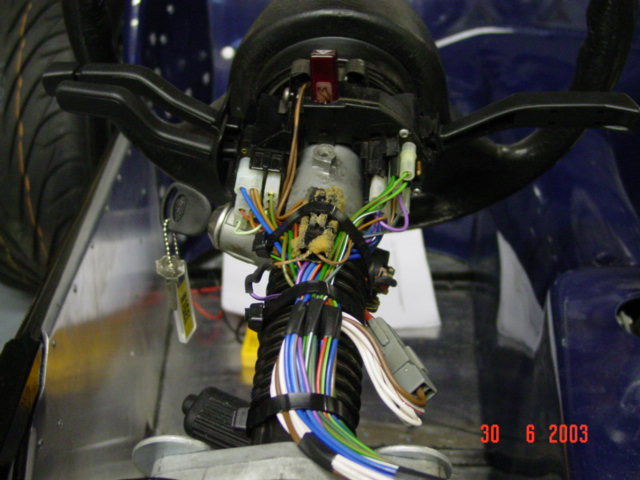
I started off wiring the column switches with the intention of converting the loom to use the newer Sierra mark 2 switches, given that I had been collecting a selection of them at various shows over the past 6 month and had chosen 2 suitable for use. However having looked into the method of converting the dax loom on the Rushowners archives the problem seemed to be changing the headlamp switching from negative to positive switching or vice versa, which also meant altering and adding relays. As a last chance solution before attacking the loom I went to Malley's Ford Spares in Leeds who had a box full of both switches. I even managed to find a wiper switch without the intermittent wipe function, and an indicator switch without the horn button for £5. Both fitted and worked without any problem, although the wiring was altered slightly to incorporate the steering wheel horn push, following the notes in the build manual. I managed to salvage the ignition wiring connector and horn wiring connector from the original Sierra wiring loom. Whilst at it, the horns were fitted, just in front of the oil filter. What an achievement that night, switches and horns working - not sure the neighbours were too pleased to hear I had got the horn working at midnight !
|


![]()
|
Registration speedo sensor, bonnet catches, final trim, MOT & SVA Nosecone, Rear tub, front mudguards, alarm Finishing fitting the dashboard Carpets, seats and Dashboard Making a start on the interior Lights working Bonnet, Nosecone, Headlights 1st drive Rear mudguards and lights Engine loom wiring, Alternator bracket, Distributor, Engine Started, Speedo sensor, Transmission tunnel fitting, Exhausts, Side panels Steering column, Front axle, Pedal box, Wheel studs, Fuel tank, Wiring loom, Rear tub, Remote oil filter, Front bulkhead / battery shelf, Column switches Footwell panels, Rear axle, Brake pipes, Rear bulkhead, Fuel pump, Engine installed Collect kit from Dax, Painting chassis, Remote oil filter takeoff plate, Floor panels, A frame bushes Gearstick remote, Baffled sump Preparing LT77 gearbox, exhaust options, Costs for kit 3.62:1 LSD Front hub bearings, Engine age Preparing donor differential, drive shafts, hubs |
|
|